Free tutorial · Lesson 1 of 6
How to Draw an Anime Face — A Beginner's First Character
Practice drawing a front facing original anime character with a side swept bob hair style. Practice placing the head, both eyes and smaller features to the face before moving on to the hair.
Skip to the stepsWatch the pencil strokes
Free replay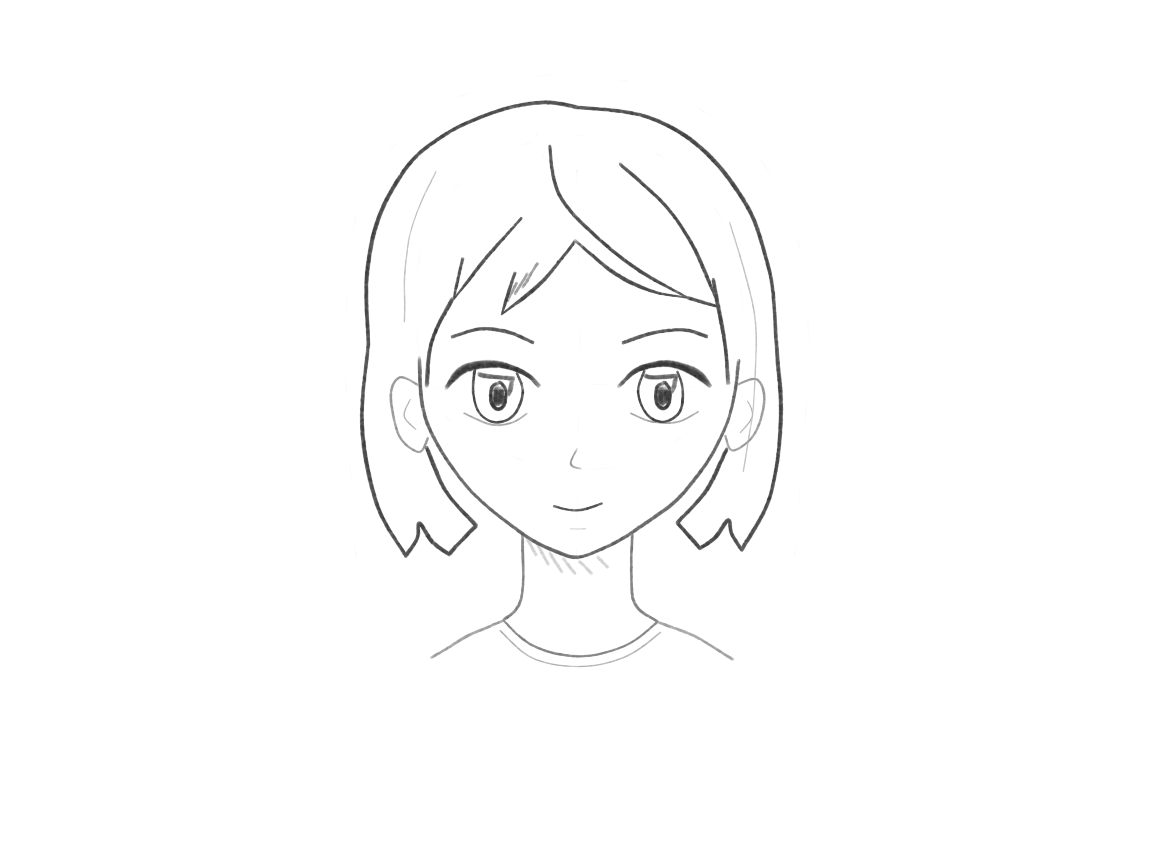
Enable JavaScript for the pencil replay. All drawing steps are available below.
What you’ll learn: Planning a face instead of drawing beautiful individual features to later try to fit them into a face.
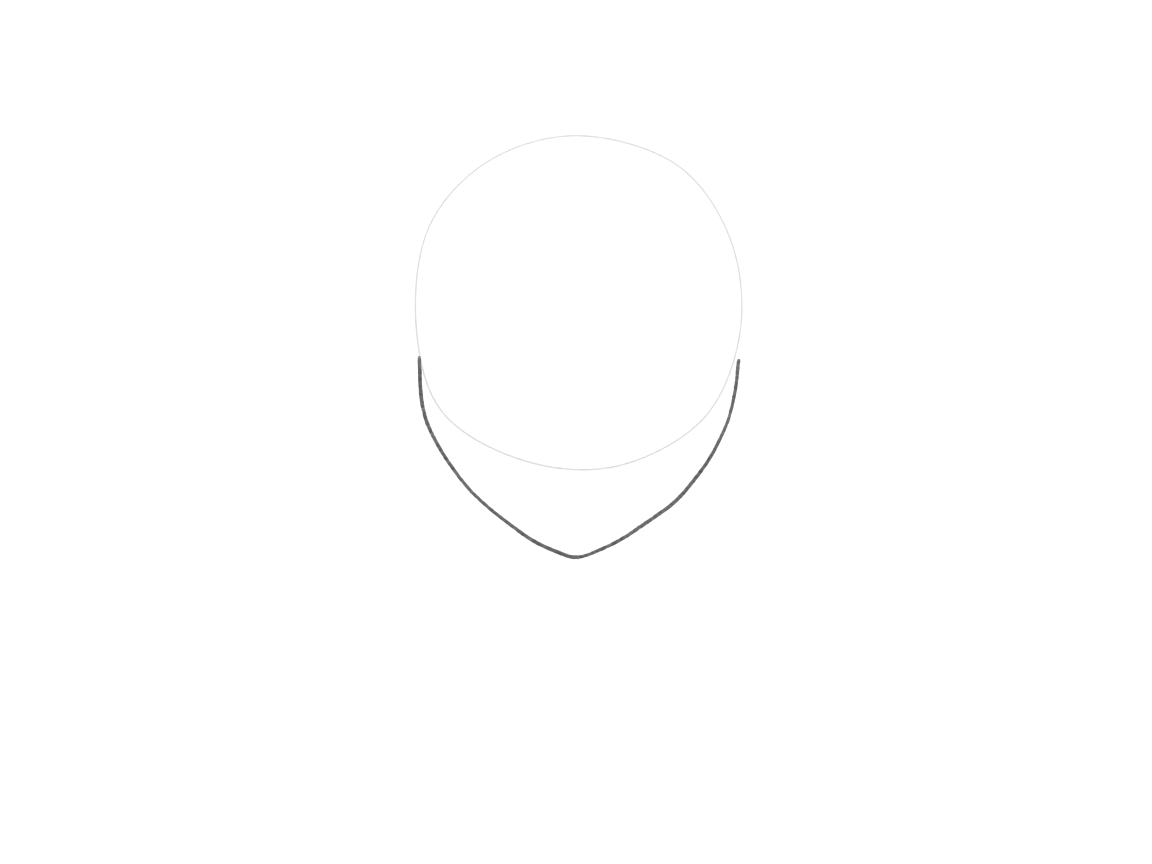
Plan the head and jaw
Step 1: Lightly draw the upper part of the head for reference, then draw the chin below it and gently connect the two cheek areas together with soft curves for the jaw line. Leave some space above the first shape drawn for the hair in a later step.
Draw the upper part of the rounded head lightly with a pencil. Add a chin to the bottom, and then add the two cheek sides to the chin with two short soft curves. Make sure to keep the circle of the upper part of the head visible. The face should leave room for two separate eyes, a gap between them and cheek space on either side. Allow for hair outside the circle on top.
Why this works
The skull forms the bulk of the head and setting its size here will help extend it out to form a single face with the jaw. In terms of drawing order, it is easier to draw the head and then place the features within it rather than drawing the features individually and then trying to place them within the face.
+ Green: add− Red: erase
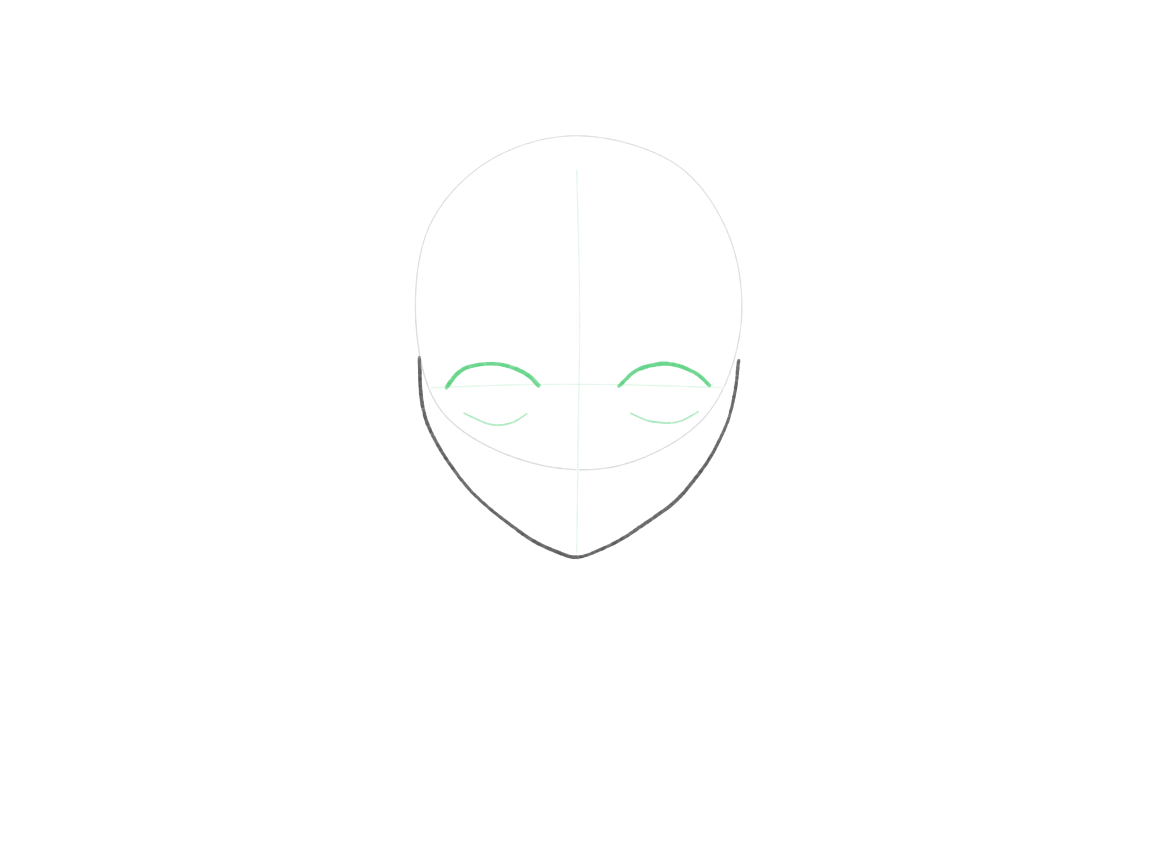
Locate both eyes with guides
Adding a center line to the face and an eye guide will help you to place both eyes before completing either one. Compare the space between the two eye masses and their distance from the sides of the head.
Run a light centerline down the face and draw an eye guide across it. Then draw the upper lids and the light lower edges of the eyes before you draw the iris of either eye. For this character’s eyes, compare the gap between them with the width of one eye.
Why this works
Draw the pair of eye envelopes before adding detail. It is much easier to compare two lightly sketched eye envelopes than it is to move fully finished and shaded eyes around on your drawing.
+ Green: add− Red: erase
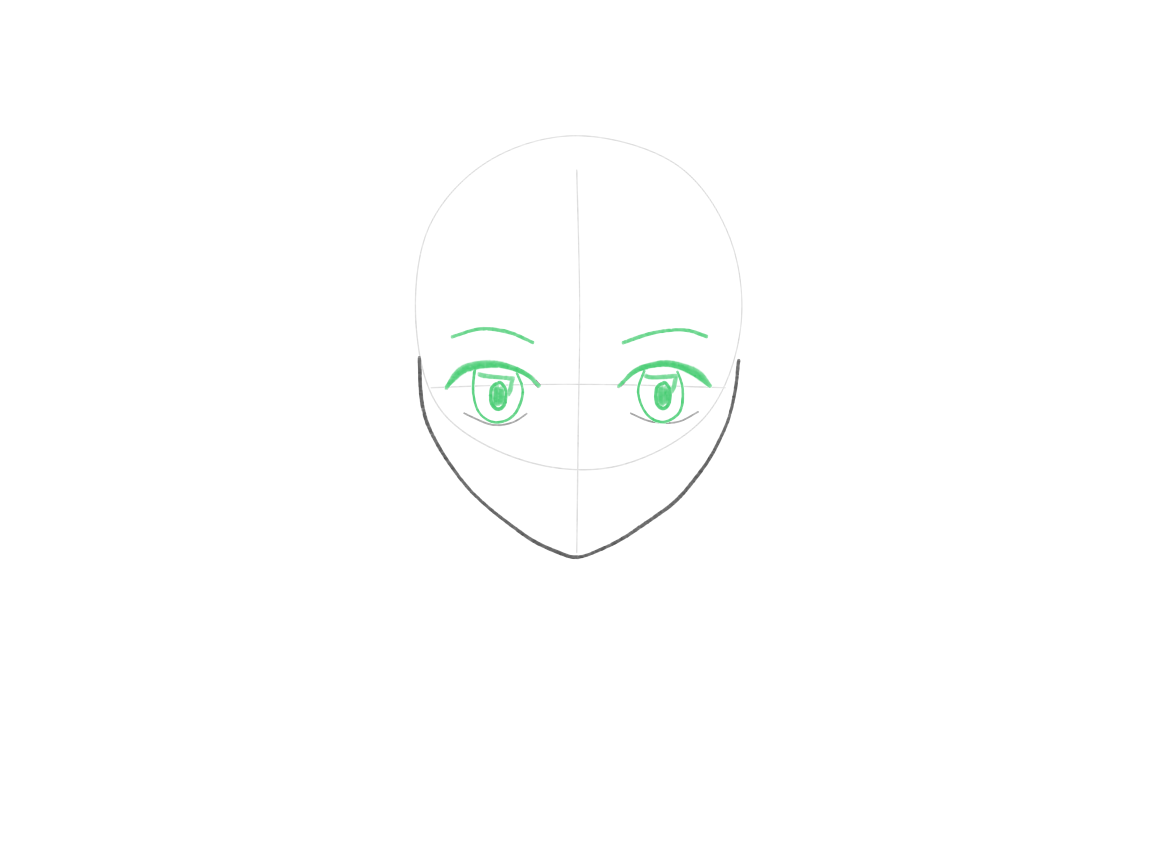
Give the eyes a simple gaze
Draw the upper eyelids a little stronger, and a simple iris shape within each eye opening. Add a dark pupil to each iris and keep the pair looking in the same direction. Add a short curved brow above each eye. A tiny light spot inside the iris is optional.
Strengthen the upper eyelids and simply add an iris to each eye opening. Add a dark pupil to each iris. Draw a small brow above each eye. Work across the pair of eyes and make sure they are looking in the same direction. Leave the lower eyelids light and consider adding a bright highlight to the eye.
Why this works
Both eye openings must contain the dark eye shapes of the iris. A coherent gaze of the eyes is based on the spatial relation of the two eye openings, not on the detail of the iris.
+ Green: add− Red: erase
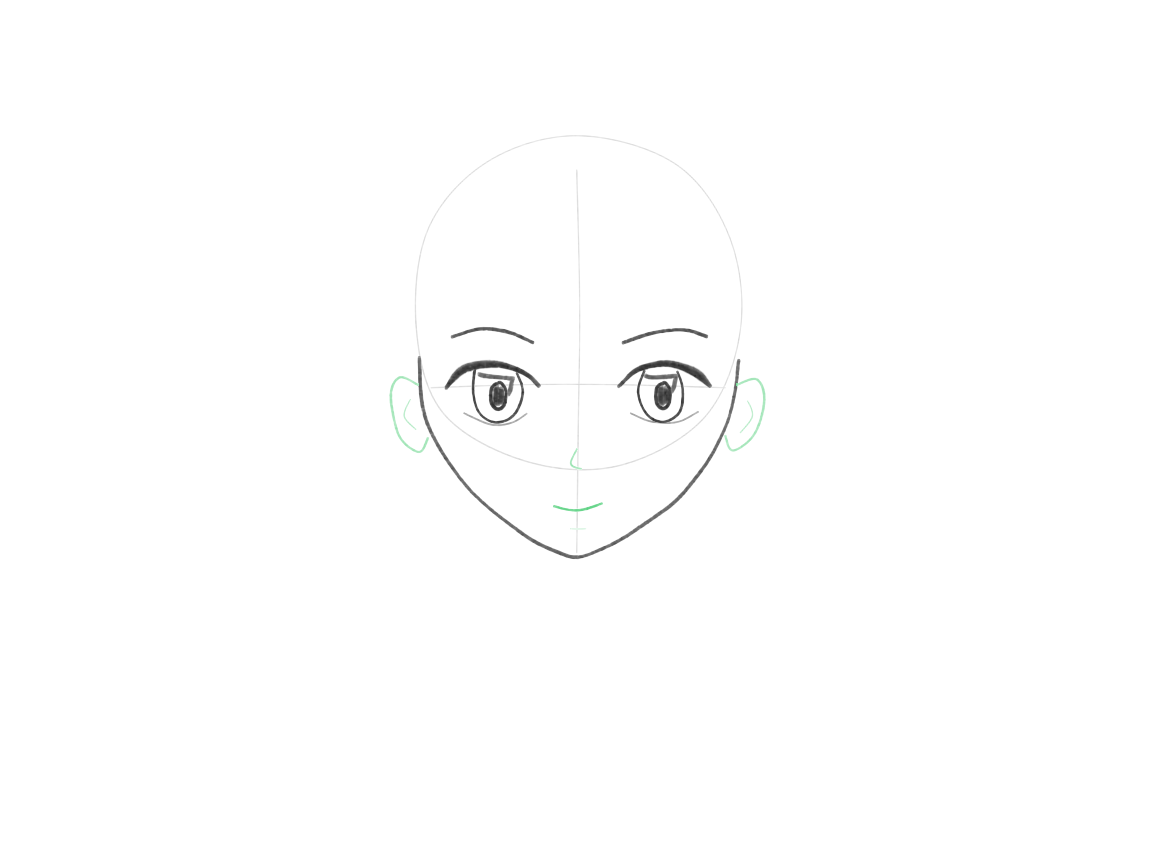
Place the nose, mouth, and ears
Draw a small nose mark on the centerline of the face. Place a short mouth beneath the nose and leave some space between the mouth and chin. Simple ears on the sides of the head complete this feature. On a front view both ears sit at the same height.
Draw a short nose mark on the lower centerline of your face, and then draw a small mouth beneath the nose mark. Leave some space between the mouth and the chin of your face. Draw a simple ear on each side of your head, with a short inner curve to suggest the folds of the ear. Because this face looks straight at you, the two ears sit in the same band: start each one at the eye guide and let it drop toward the nose line. An ear that slides down onto the jaw makes a front-facing head look twisted.
Why this works
The eyes, nose, mouth and chin belong within one face, and their positioning in terms of order and spacing is more important than the exact shape of the nose.
+ Green: add− Red: erase
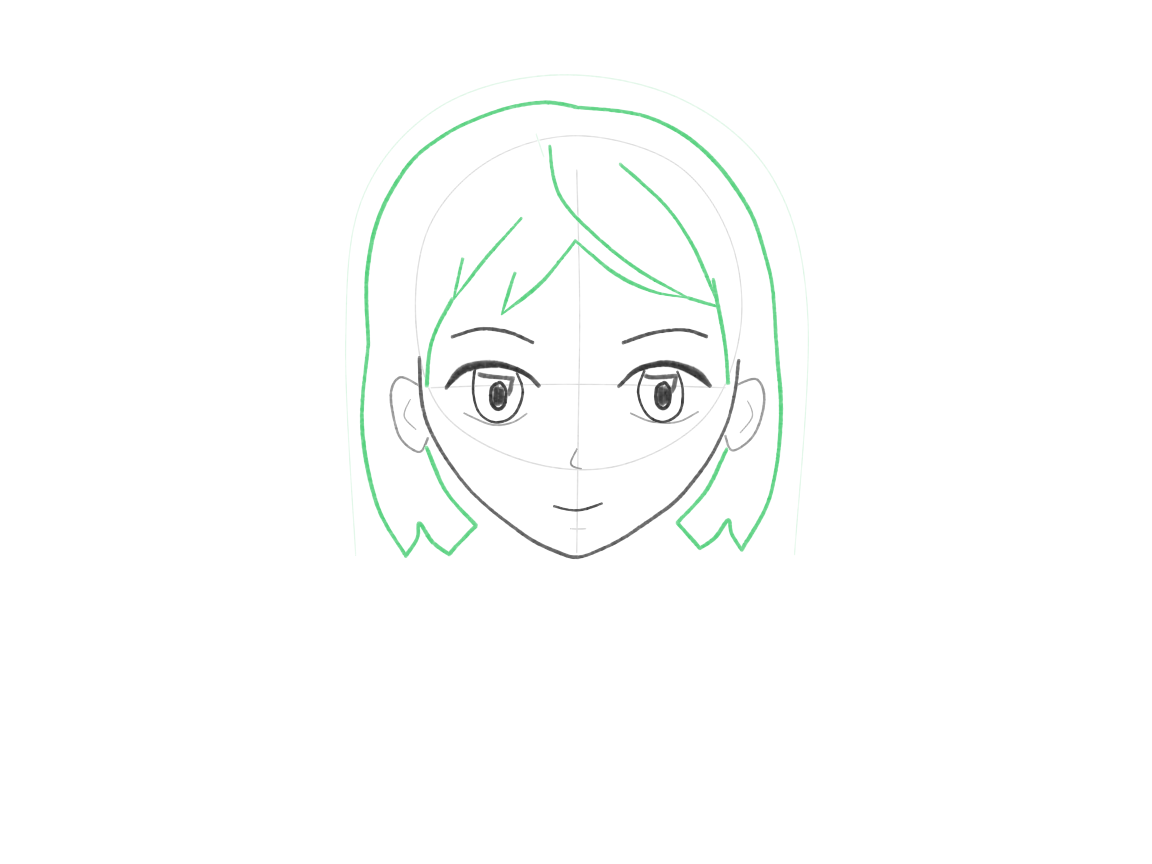
Wrap simple hair around the skull
Add hair that extends outside the head guide, to fill the space around the skull. Draw the large shapes on the top, sides and back first so they connect up to form a bob. Then add a few broad bangs from the part.
The skull guide is still to be visible under the hair, in relation to where the offset part of the hair is on the head. Draw the large bulk of hair first and then add a few locks for the bangs. Stop each hidden hair edge at the nearer lock that covers it.
Why this works
Hair outside the skull has volume. This volume can be better made clear with connected masses instead of decorative spikes of hair.
+ Green: add− Red: erase
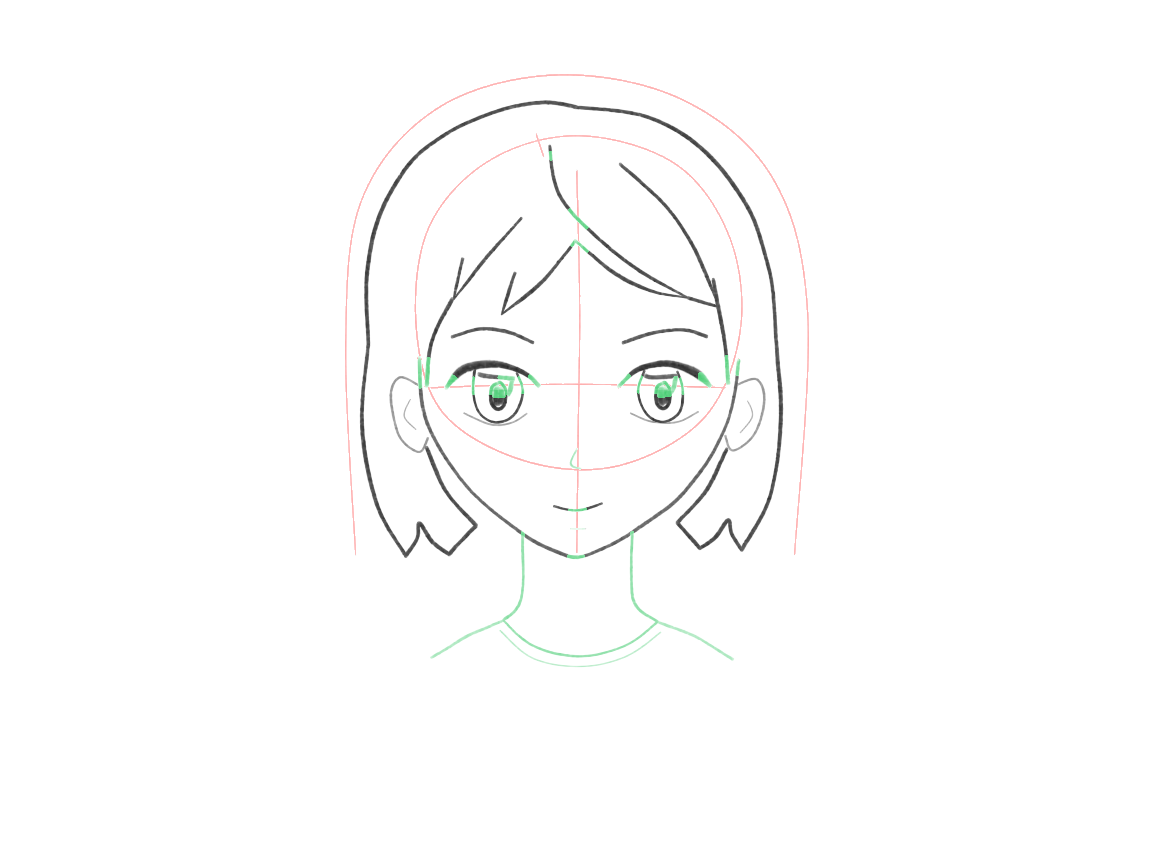
Connect the neck and clean the overlaps
Start drawing the neck under the head. Draw a very simple collar and continue drawing the shoulders. Now the face and hair are standing on their own so you can erase the guides. Use short eraser strokes to remove guide lines hidden behind the bangs.
You draw two short neck edges from the underside of the head and add a rounded collar to the neck. Also, add a few lines to indicate the shoulders. The face and hair are holding their own positions now. You erase the used guides in short passes and re-draw only the short finished sections touched by the eraser.
Why this works
A line can function as a guide until other forms are drawn and they reproduce the information of the line. Then the line can be erased.
+ Green: add− Red: erase
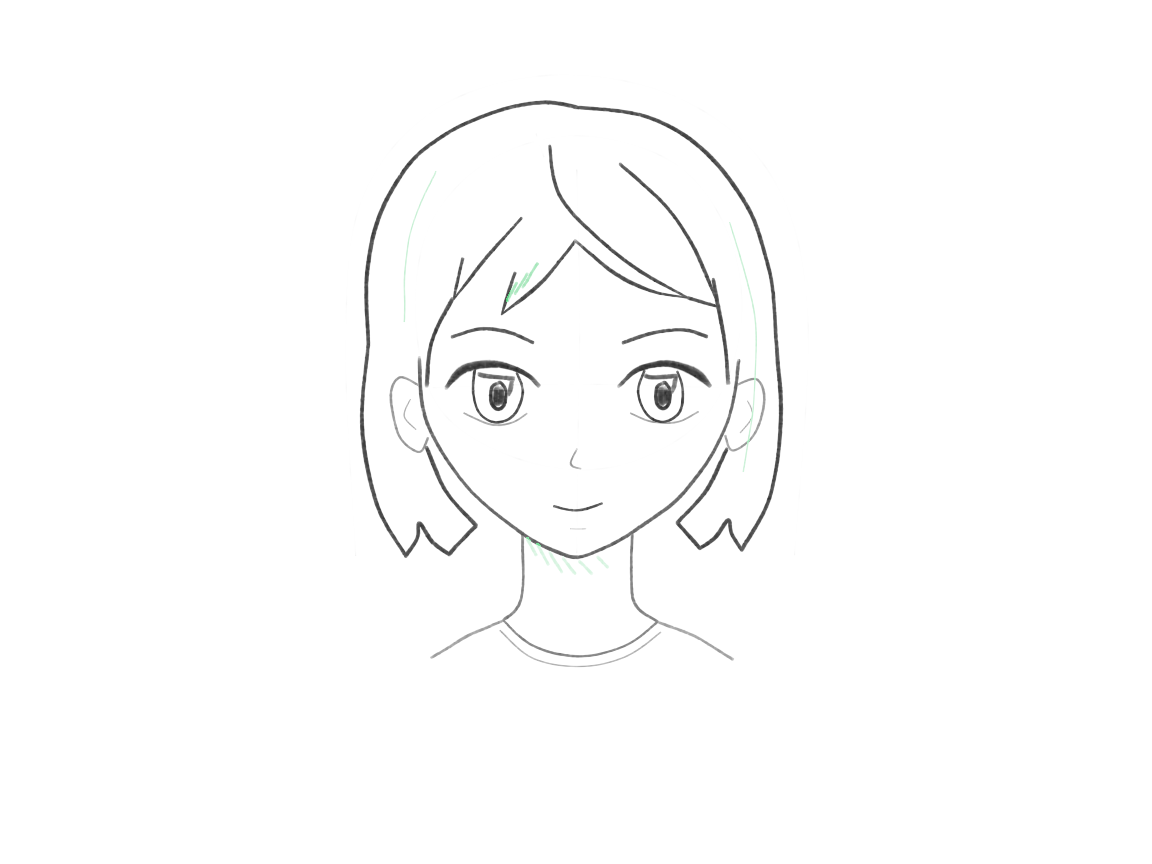
Finish with a few deliberate accents
Emphasize a few lines to make sure the character is seen clearly. You can add a bit of shadow under the chin or under the fringe of hair, as well as to the upper eyelids and a few of the hair edges. Most of the drawing should be done with very light lines. Remember, the light is coming from above left and in front of the character, so most of the skin and hair should appear white. Extra shading should only be added where it will not obscure the eyes or create confusing contours.
Add a few darker edges to create emphasis: the upper eyelids, some hair overlaps, and a small shadow under the chin or the hair in the fringe. But keep the majority of the character light, and remember the light is coming from above left and in front of the character. The skin and hair of the character should be mostly white.
Why this works
A few lines of darker emphasis are sufficient. The majority of the character can remain very light in value once its structure is clear.
A few useful checks
- If the jaw of your character begins below the head and does not touch it, extend the side curves up to meet the shape of the skull of your character’s head and then place the face on it.
- This problem can occur when the mouth sits on the edge of the jaw line. To fix it, move the mouth up into the face slightly, allowing room for the lower part of the chin.
- The neck comes from underneath the head on both sides, not from the tip of the chin.
Try a small change
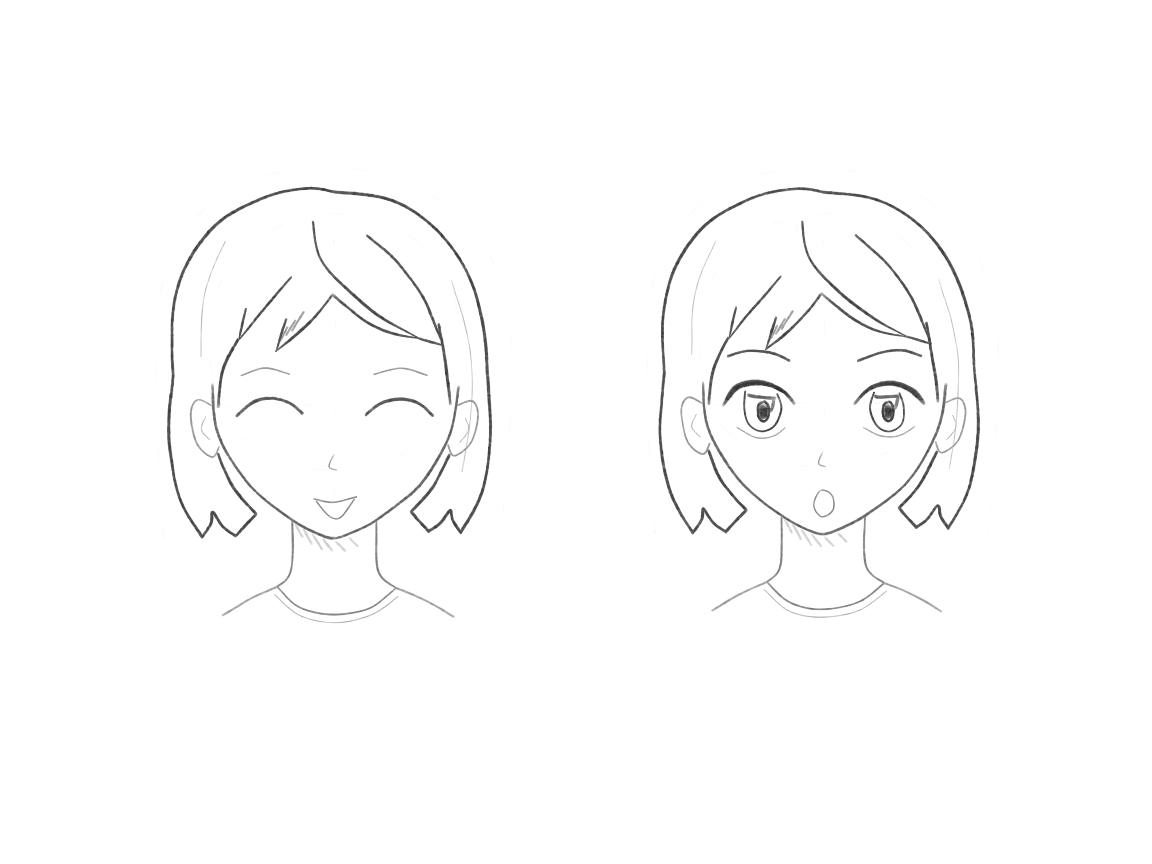
Optional practice: create a second head outline with the same light guides as before. Experiment with different eye shapes. You don’t have to finish the rest of the hair or even add shading to the features. The purpose of this exercise is to practice choosing different shapes to achieve the same result of drawing a character.
Just because you made a character by placing related shapes next to each other, doesn’t mean that you can’t change that character up to make alternative expressions using only a few minor changes.
Guided lesson
You’ve followed the steps. Now find out how it went.
Draw it on our canvas and Luna checks each step: what’s off, how to fix it, before you move on. Your drawings stay saved, so you can see them get better.
More from Draw Anime Characters