Free tutorial · Lesson 3 of 6
How to Draw Anime Hair — Simple Shapes, Not Individual Strands
Build a short swept hairstyle around a simple head. Use the skull, an outer envelope and a few broad locks to give hair shape and volume.
Skip to the stepsWatch the pencil strokes
Free replay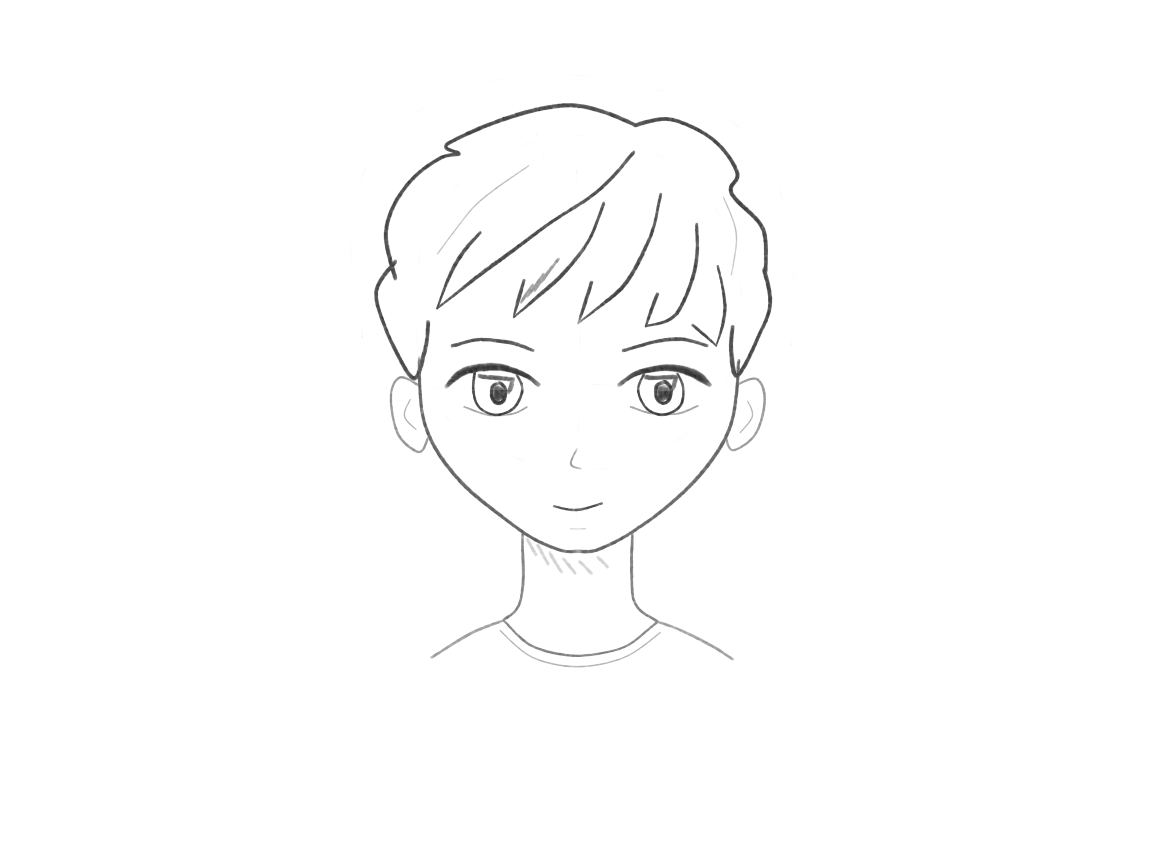
Enable JavaScript for the pencil replay. All drawing steps are available below.
What you’ll learn: Plan hair as volume around the skull, organize it into connected masses, and use a few locks to show direction. This is not merely a longer or more detailed version of Lesson 1. The back/top/front relationship is now explained explicitly. [S05, S06]
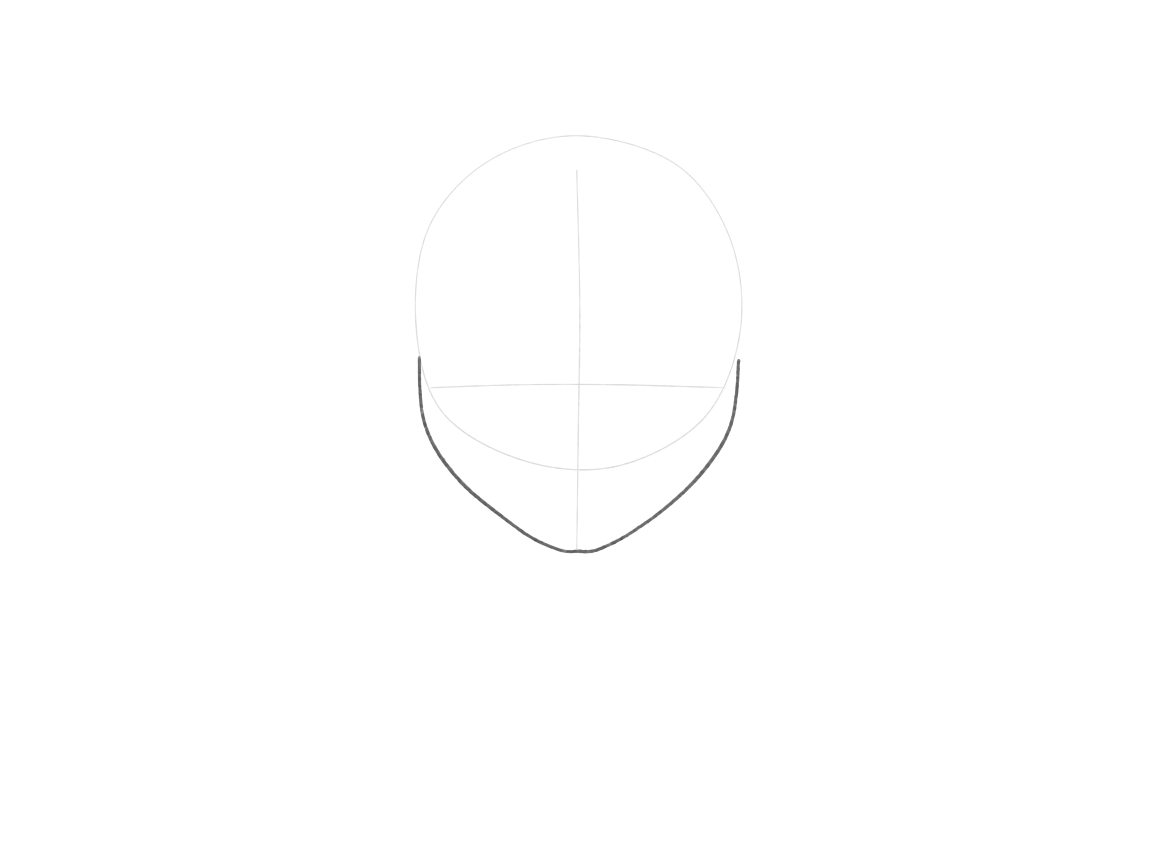
Give the hair a head to sit on
Start with the head and a simple face guide. We are leaving the skull visible because the hair needs to sit around it, not replace it. Keep the facial details light for now.
Draw a rounded skull with an attached jaw, then a centerline and eye guide. Keep everything light. Leave room above and beside the skull: it will help you judge whether the hairstyle really surrounds a head rather than replacing it.
Why this works
Hair needs a skull beneath it. Keep that reference visible until the hairstyle has usable volume.
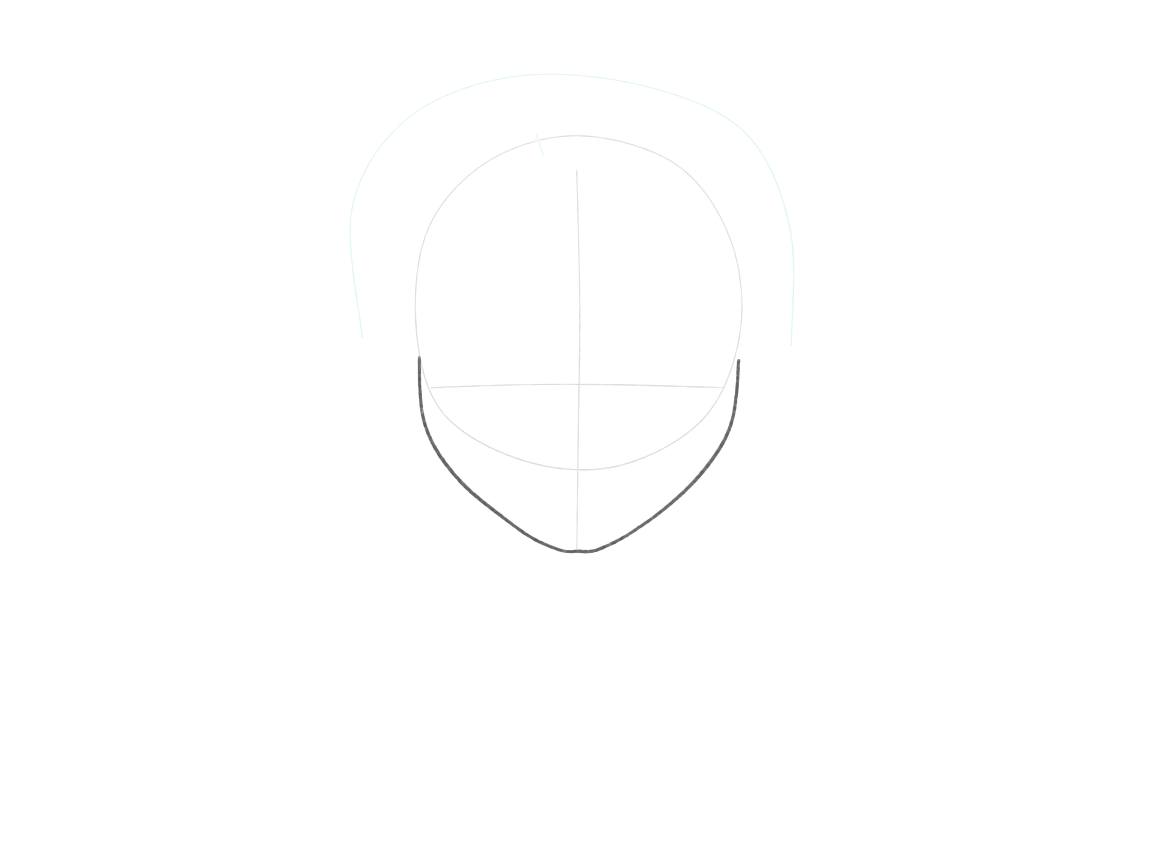
+ Green: add− Red: erase
Plan the outer hairstyle and direction
Plan the overall haircut outside the skull and choose the direction it sweeps. Use a few light curves. Do not draw separate strands yet; first decide the shape of the whole hairstyle.
Mark an offset part and sketch the outer hair envelope beyond the skull. Give the top a little lift and plan a sweep across the forehead. The envelope is a temporary boundary for the whole hairstyle; do not fill it with individual strands.
Why this works
The envelope organizes the haircut’s overall space and direction before individual locks.
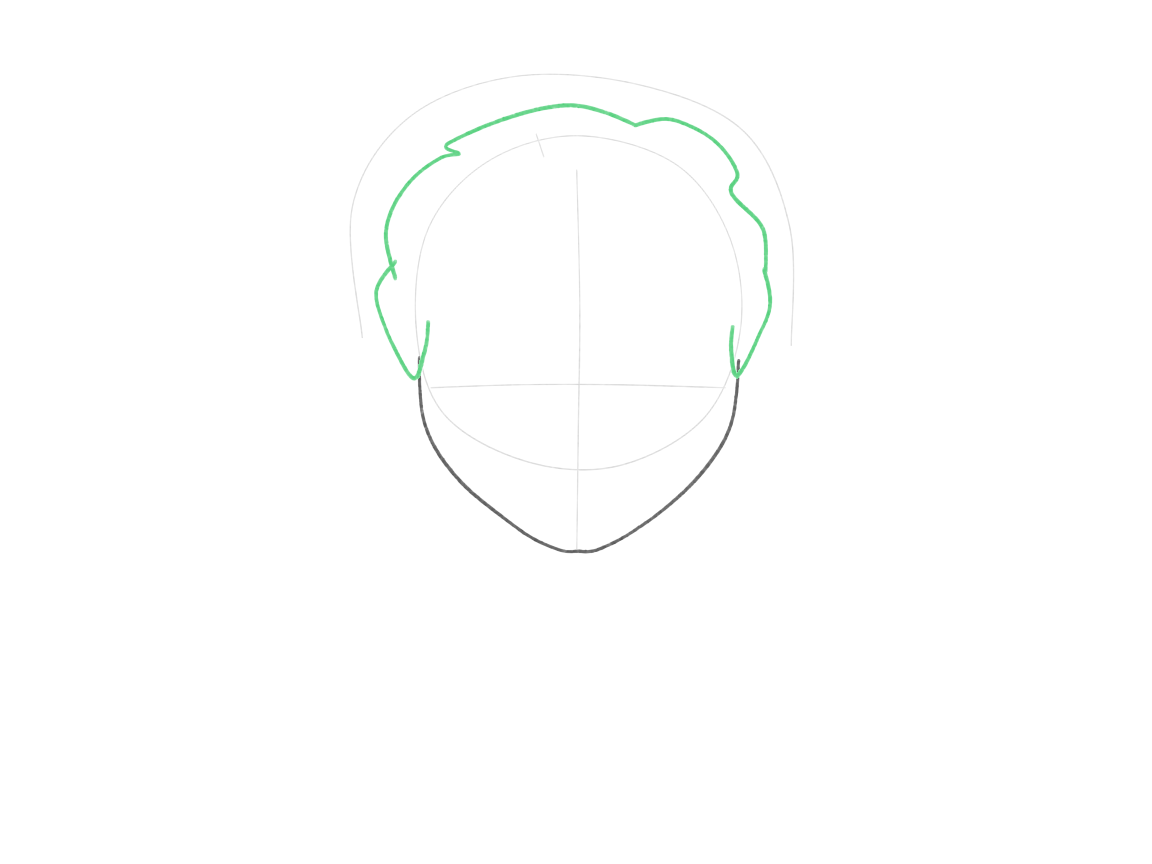
+ Green: add− Red: erase
Connect the top, back, and side masses
Build the main hair shapes: the top sweep and the side/back sections. Connect them into one silhouette. Let a line stop when a nearer section hides it.
Draw the top outline and the two side sections as a few connected masses. Let the sides narrow toward the ears. Stop an edge where another mass will cover it. Keep the light envelope visible while these larger shapes take over its job.
Why this works
Connected top and side masses give the hairstyle a clear silhouette.
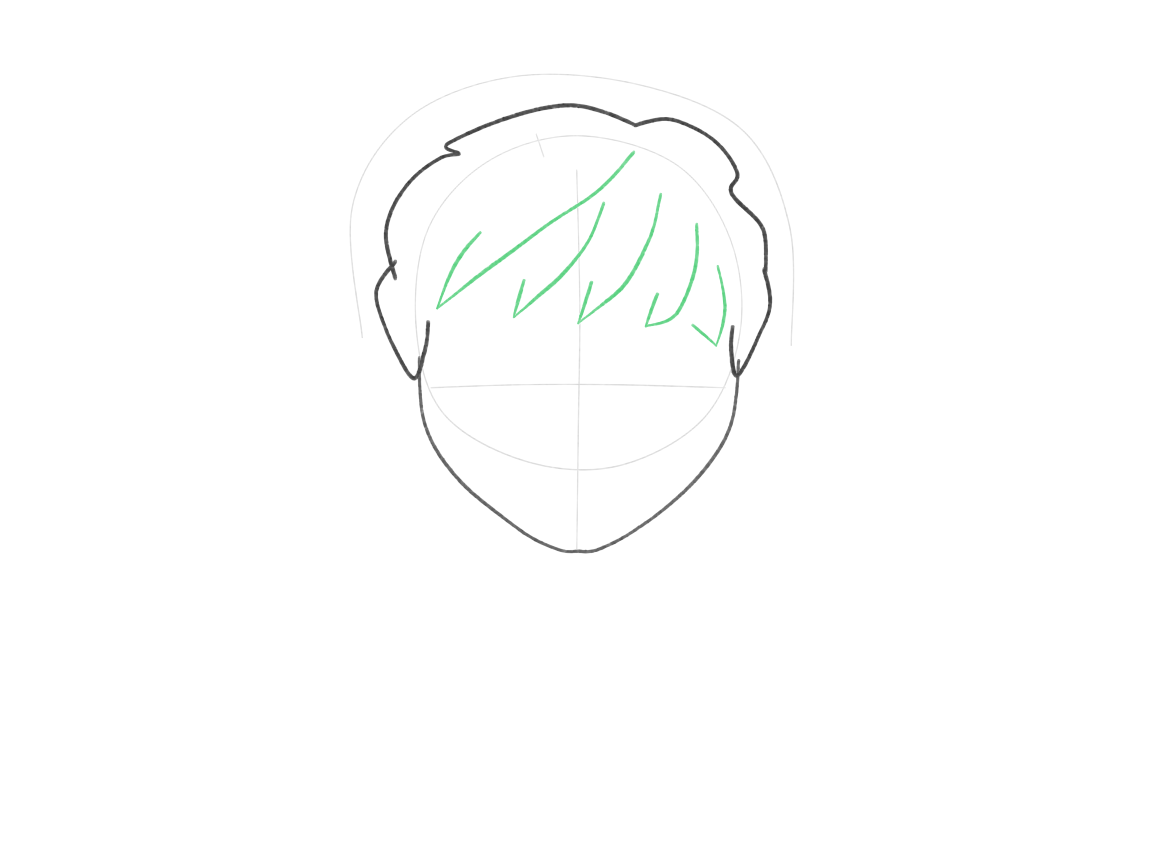
+ Green: add− Red: erase
Add a few broad front locks
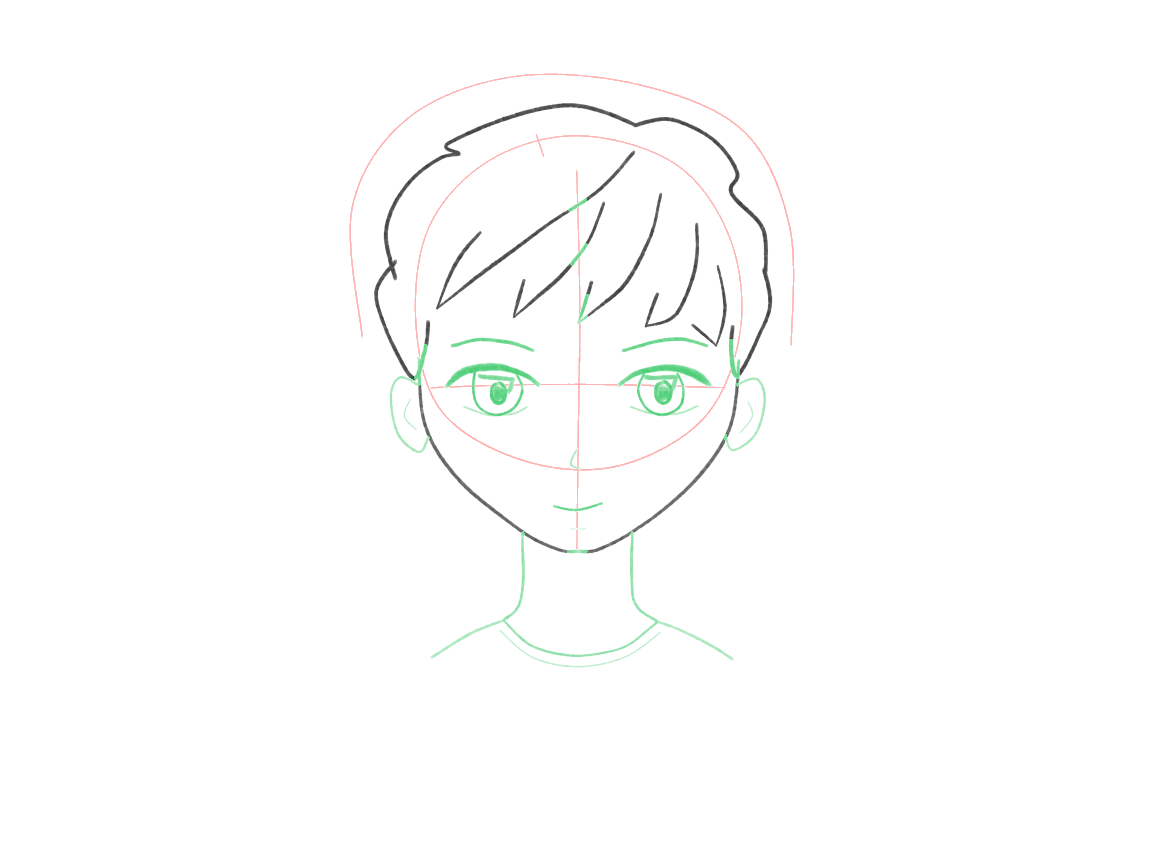
Add a few broad locks over the forehead, following the sweep you planned. Vary their widths a little. Each lock should connect back into a larger hair shape—not float as a separate spike.
Add broad tapered locks from the main sweep toward the forehead. Vary their widths and ending heights a little. Each lock needs a connection to the larger hair mass. Leave enough space beneath the fringe to draw and read both eyes.
Why this works
A lock is a part of a larger mass. Its root connection matters more than its exact pointed shape.
+ Green: add− Red: erase
Complete the face and resolve hidden edges
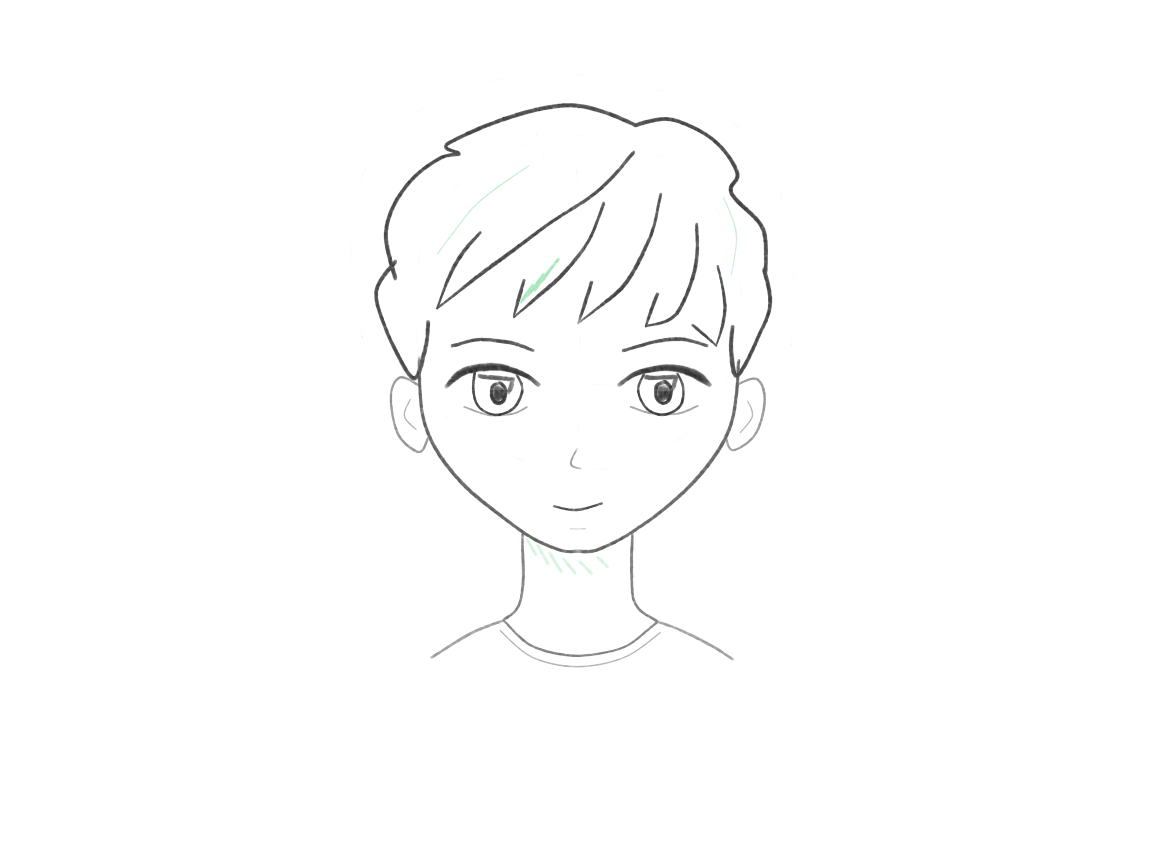
Finish the simple face inside the hairstyle. Clean the skull guides and any ear edges covered by hair. Keep the visible face and the haircut connected as one character.
Place both eyes before their dark details, then add a small nose, mouth and visible ears. Connect a short neck and collar. Remove the skull and envelope lines hidden by the established hair, then repair only the small contours touched during cleanup.
Why this works
Cleanup makes overlap readable when the final hair and face already hold their positions.
+ Green: add− Red: erase
Separate hair masses with minimal accents
Use a few darker marks where hair sections overlap. Leave the larger shapes mostly light. The silhouette and the locks should already explain the haircut without drawing every strand.
Use a few short dark marks at roots or overlaps to separate the larger hair shapes. One or two lighter curves can explain the sweep. Leave broad areas white. More strands will not fix a detached lock or hair that cuts into the skull.
Why this works
Shadow can separate existing masses. It cannot replace the missing connection between them.
A few useful checks
- If you see this problem: Leave more space above the skull before building the haircut. Its outer shape needs to extend beyond the head guide.
- If you see this problem: Connect the base of this front lock to the top hair mass. You can keep its tip where it is; it just needs a clear origin.
- If you see this problem: The circular skull line still runs across the bangs. Erase the parts that are hidden by the locks, then repair the lock edge where needed.
Try a small change
Draw two small skull circles and plan different outer hair silhouettes on them, without faces or finishing. Try a flatter version and a fuller version. This tests construction choice, not polished repetition.
You can now change a haircut by changing its main shapes. Next, you will turn a familiar head without losing the relationship between its features.
Guided lesson
You’ve followed the steps. Now find out how it went.
In the Draw Anime Characters course you draw this one and 5 more on our canvas, with Luna checking each step: what’s off, how to fix it, before you move on. Pay once and the lessons stay in your account.
More from Draw Anime Characters