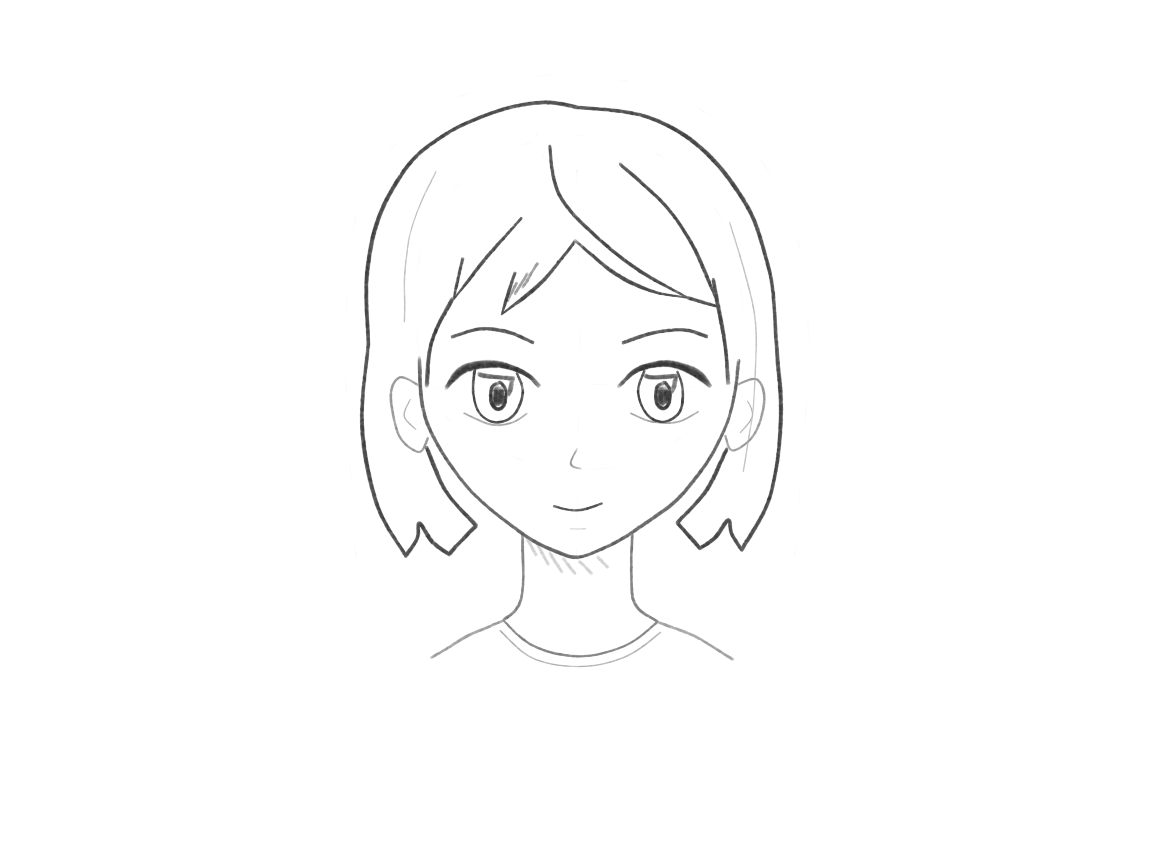
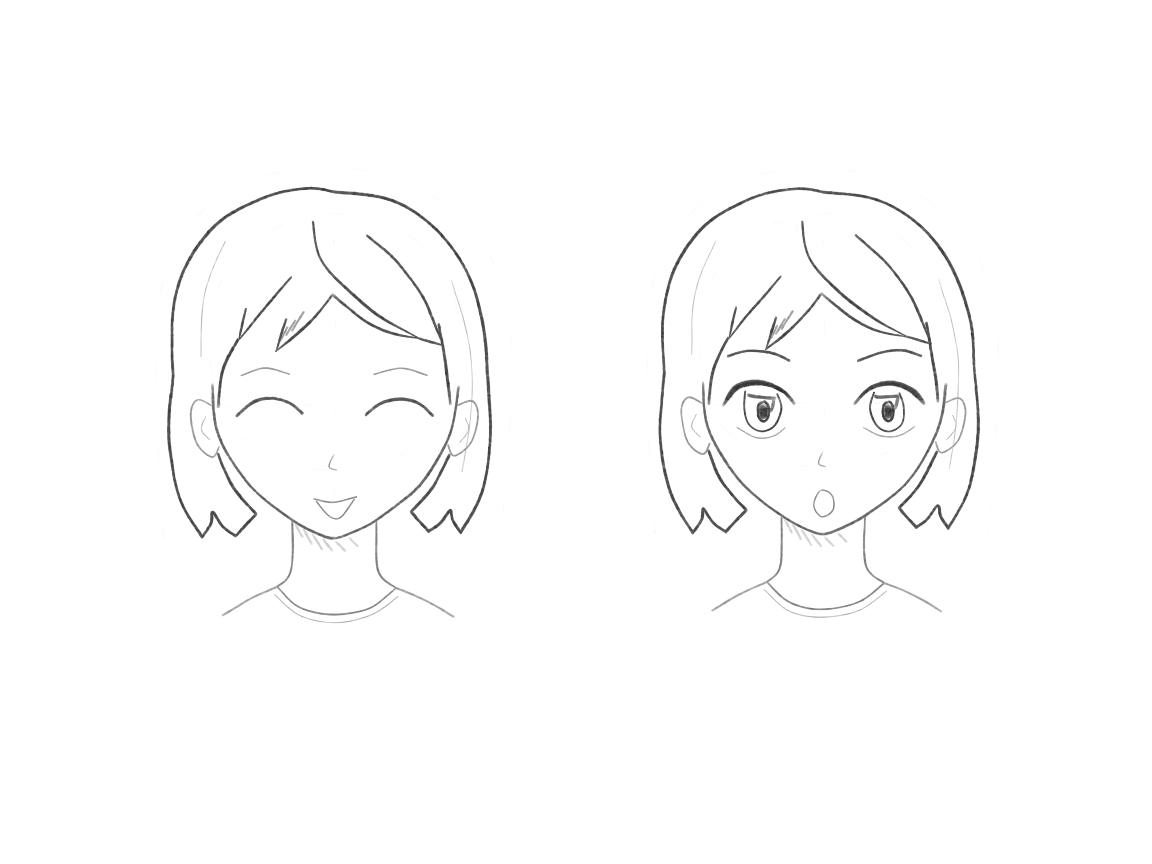
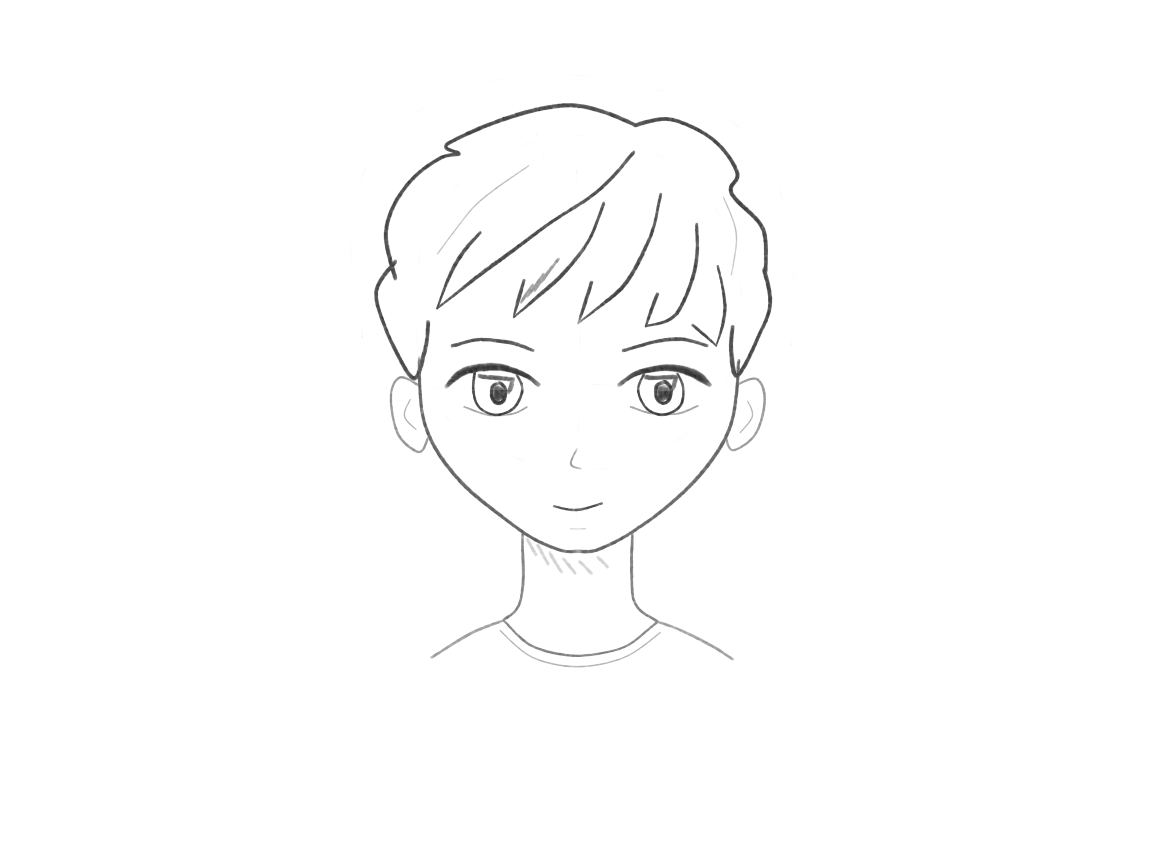
Free tutorial · Lesson 6 of 6
How to Draw an Anime Body — A Simple Standing Character
Draw an adult anime character with the head tilted to one side. The character should have two hands visible and be dressed in a blouse, a skirt and boots. Focus on getting the relaxed stance of the character before adding clothes.
Skip to the stepsWatch the pencil strokes
Free replay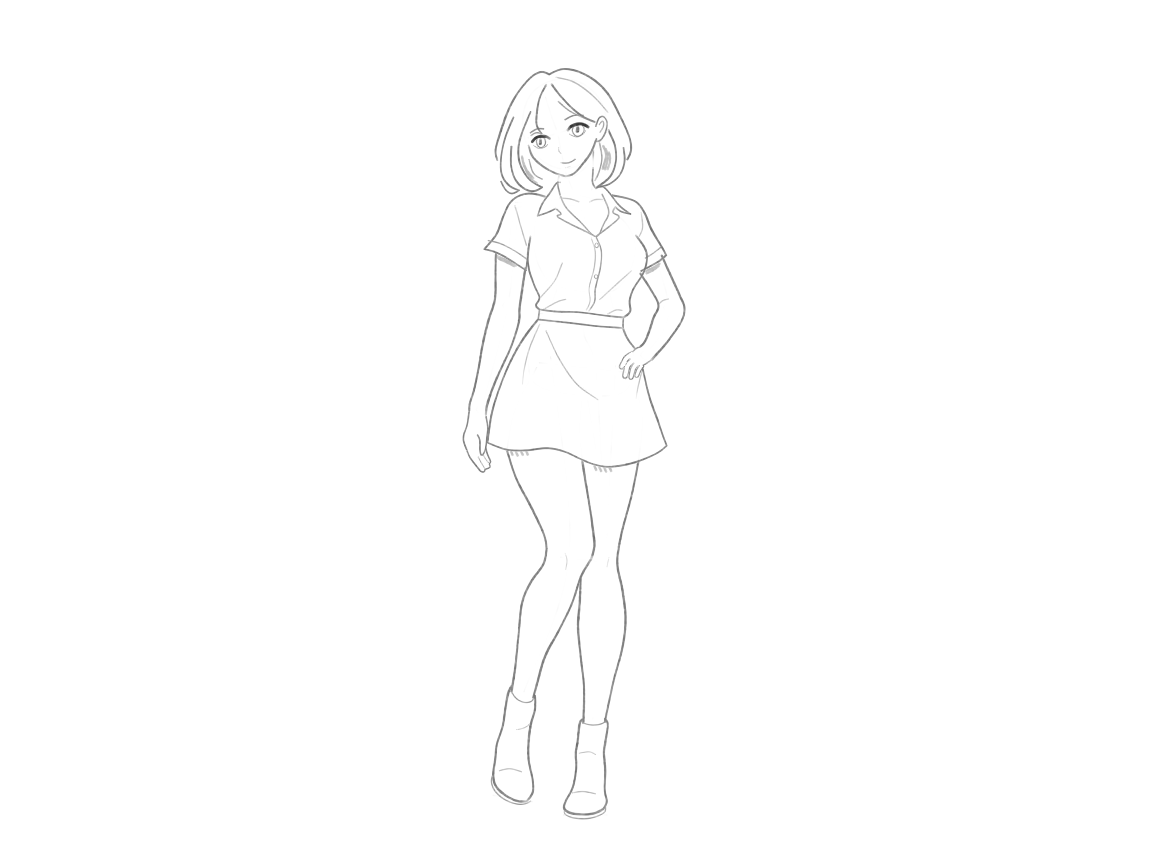
Enable JavaScript for the pencil replay. All drawing steps are available below.
What you’ll learn: Connect head, body and limbs into a recognizable character. Show where it is supported. Where the hands are. Where clothing overlaps.
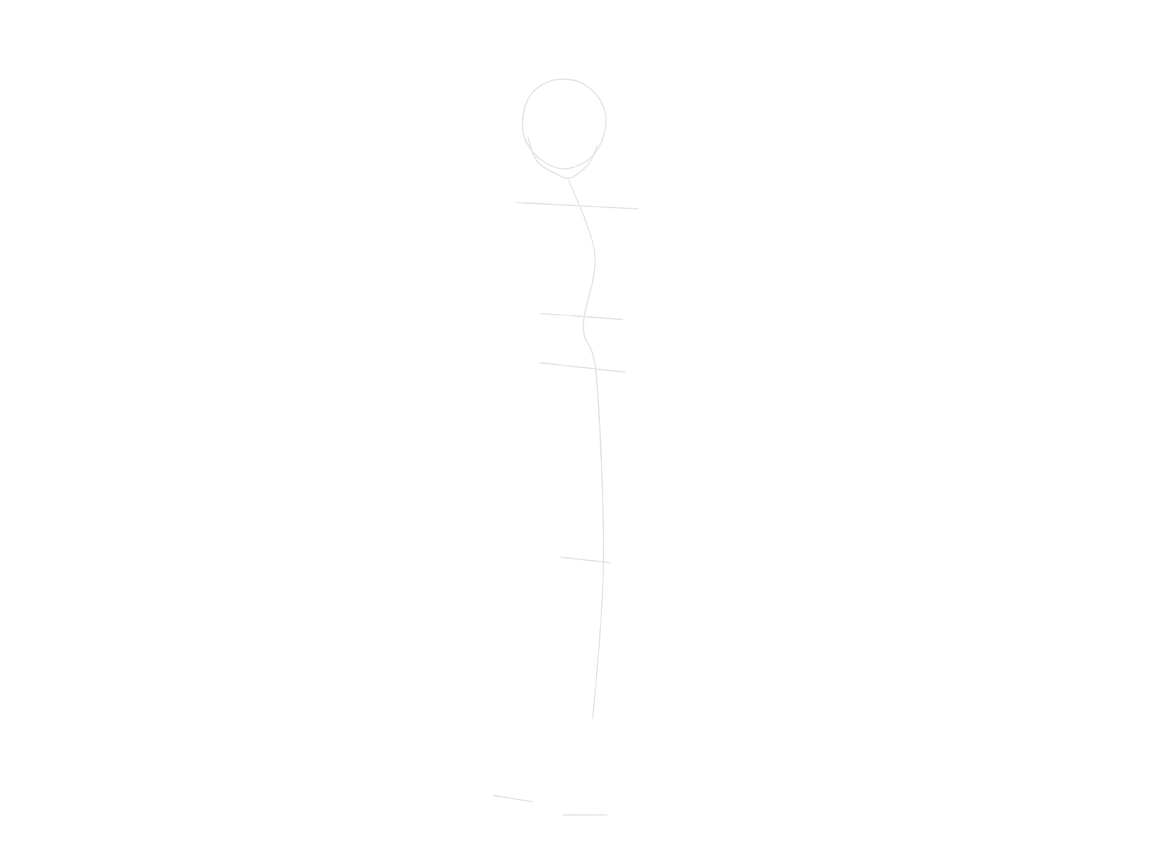
Plan the head and whole figure
Lightly place the head, body direction, shoulder, waist, hip and knee levels, allowing for hair and the two boots.
Work out the complete height of your figure before starting to add detail. Decide on the height of the chest, pelvis, thighs and lower legs. The figure can be tall and thin or short and stocky. It is the proportions of the connected body parts that you need to get right, not a set number of heads for example.
Why this works
You can ensure the feet aren’t pinched in later stages by having a complete plan.
+ Green: add− Red: erase
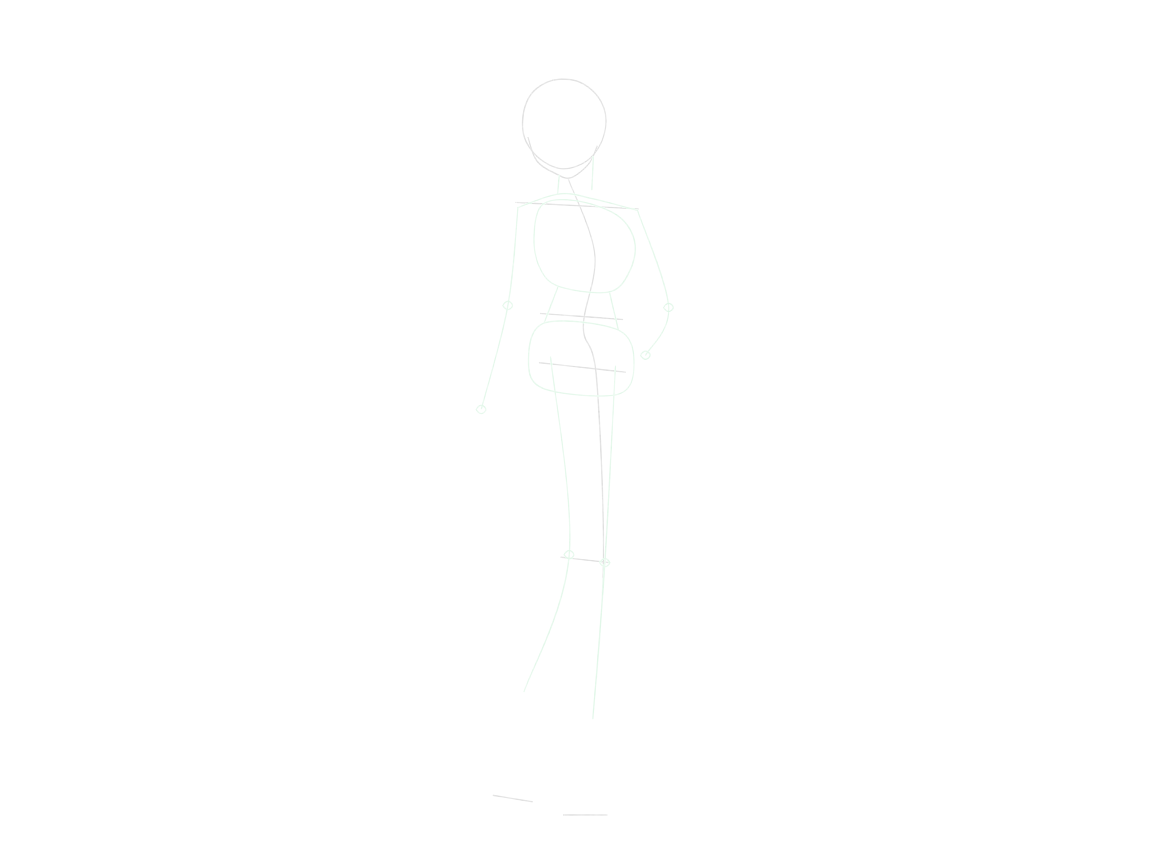
Connect the body and limb paths
Join up the chest, waist and pelvis. Draw shoulders on the upper sides of the chest. Connect each shoulder through its elbow to a wrist. Then join each hip to its knee and ankle.
The leg on your right supports the figure; the other knee bends towards you. Keep the chest and pelvis supported above the feet. One arm hangs down; the other bends out and returns to the hip.
Why this works
Joint paths establish direction and attachment before outlines.
+ Green: add− Red: erase
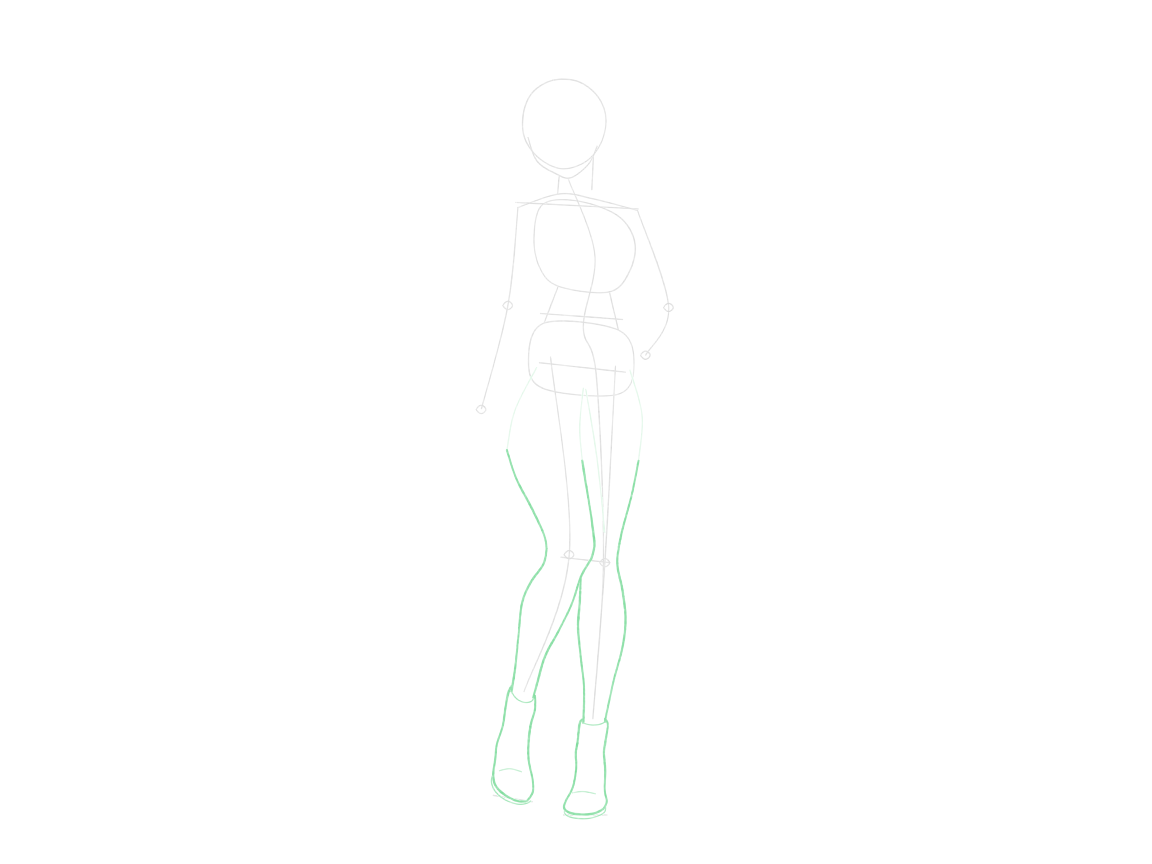
Build the legs and simple boots
Make sure the future skirt-covered thighs are light. Give each leg an upper and lower section, and connect its ankle to a simple boot. One leg overlaps the other and you will stop drawing the hidden parts of the rear leg where they meet.
Stop the rear contour where the legs meet. Their visible lengths can differ because one knee bends forward. Follow the path of the thigh through the knee to the foot. The leg in the foreground will overlap the background leg.
Why this works
The stopped rear contour shows that the other leg is in front.
+ Green: add− Red: erase
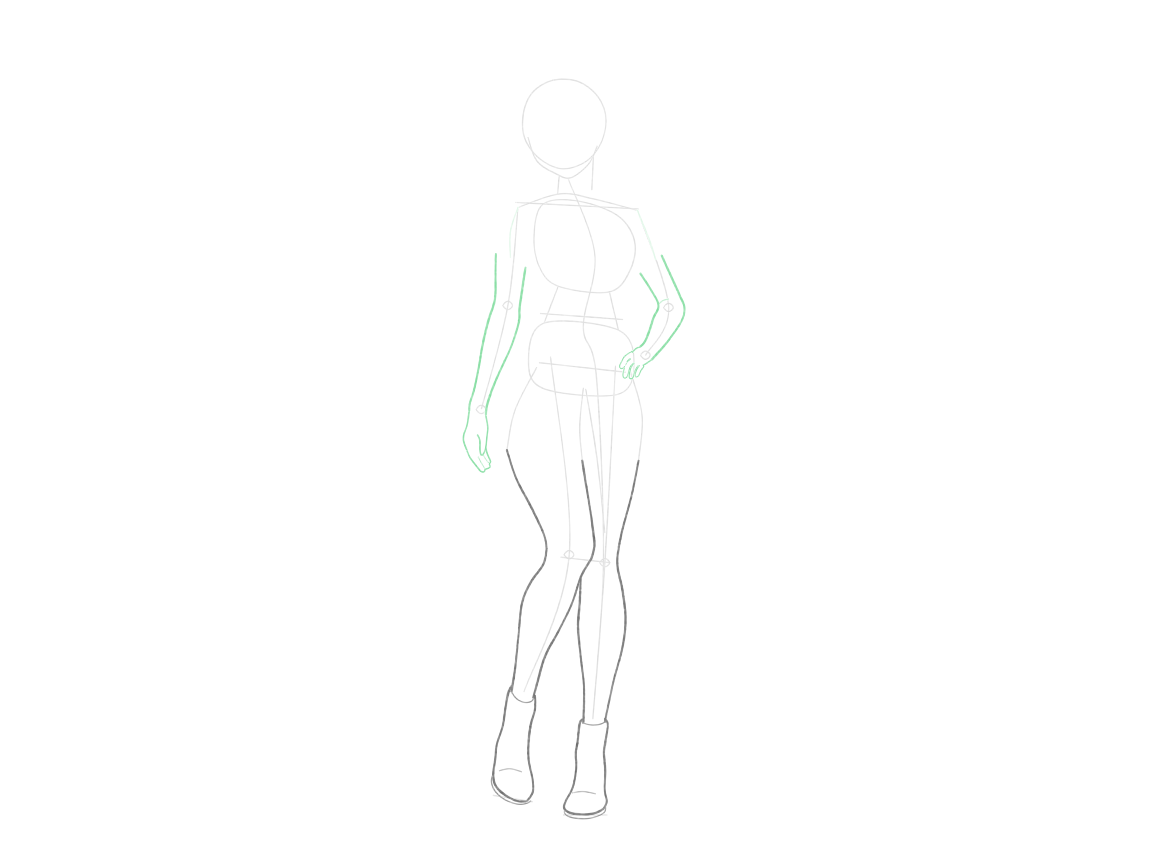
Shape both arms and visible hands
Follow the arm to the end of the arm and continue it down into a tapering wrist. Draw a hand made up of a palm and a group of fingers, adding a shorter thumb where it is visible.
Let the lowered hand's fingers continue the direction of its wrist. The other hand rests on the hip with its back toward you. Its fingers bend over the cloth; its thumb is hidden on the far side. Allow a good space between the bent elbow and the mass of the torso. Use simple finger masses for the hands and make sure both hands are clearly attached to the arms.
Why this works
Remember a hand needs a clear palm and a connection to the wrist before you add individual finger tips.
+ Green: add− Red: erase
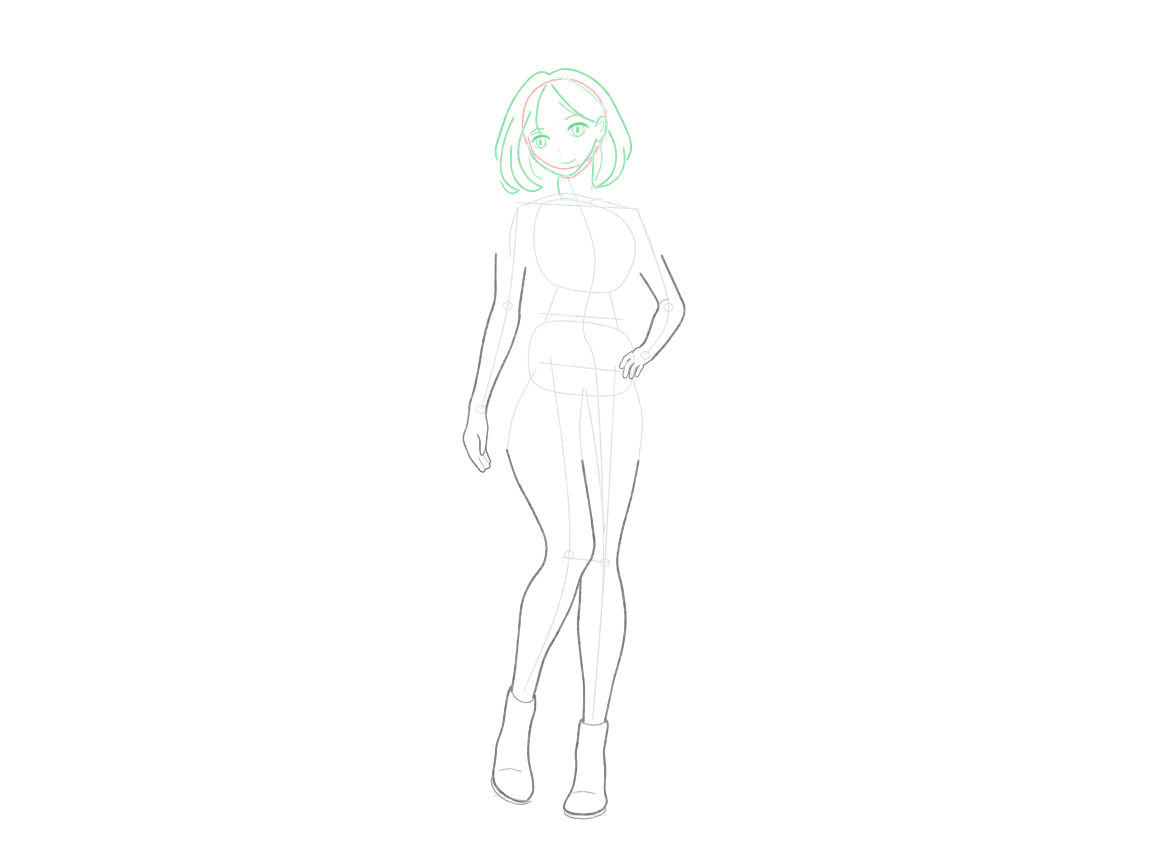
Add the expressive face and hair
Place the eyes on one tilted guide, then arrange the nose and mouth below them and attach the ear at the side. Start to block in hair in large, rounded, rough locks and add a small supporting neck.
The eye that is further away from you should be slightly narrower than the near eye because of the shallow turn in the face. The nose, mouth and other features of the face should be drawn inside the curves of the face. The ear should be attached to the side of the head. Hair should sit around the skull with room for its volume. Erase the head guides after these forms have been drawn, then repair any finished edges touched by the eraser. Keep the body guides for later.
Why this works
Each feature on the face turns as one; the individual features do not turn independently.
+ Green: add− Red: erase
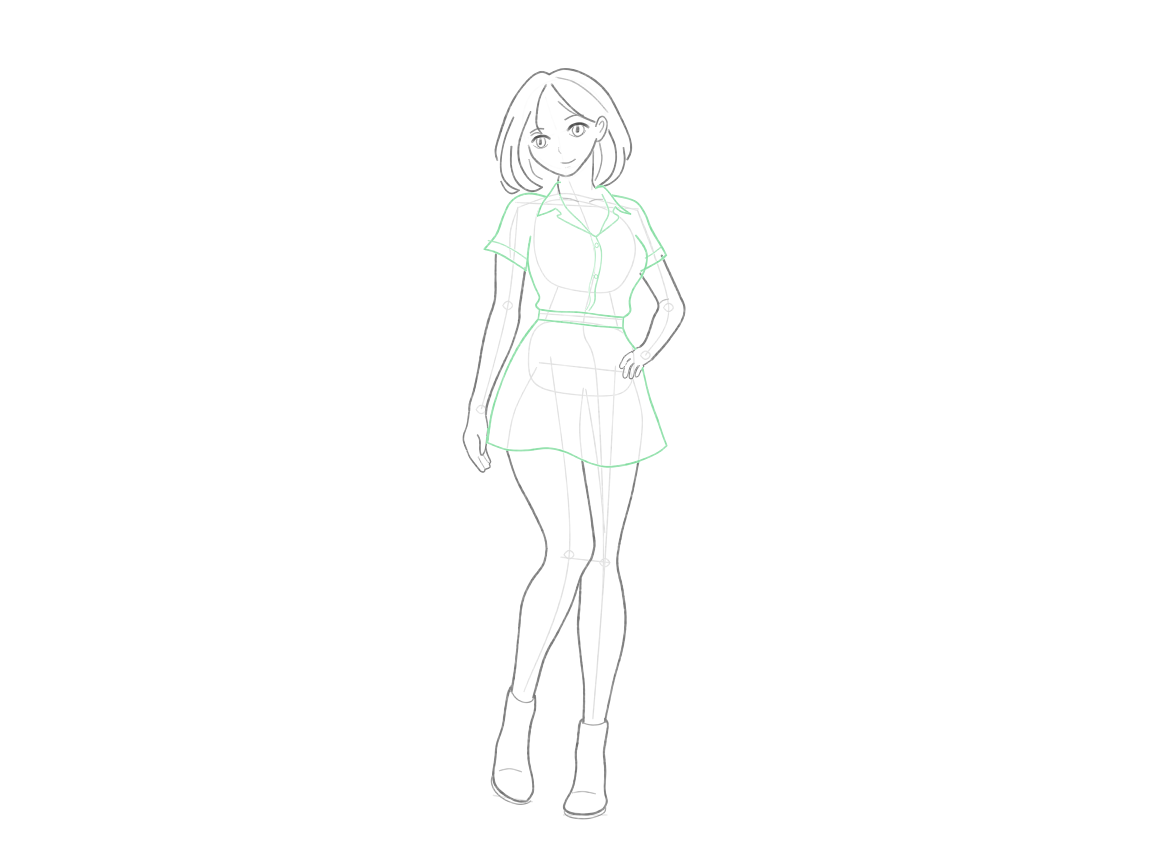
Join the blouse and skirt
Wrap sleeves around arms. Attach blouse to skirt at waistband. Stop the skirt edge behind the visible hip hand.
Sleeve openings join the blouse sides at the underarms. Collar, shoulders, and sleeve openings connect to the blouse. Sides of blouse taper to the waistband, while the skirt widens from the waistband down. Exposed arms are separate from cloth. Torso and thigh guides stay light until cleanup in the next step.
Why this works
Clothing follows the shape of the body beneath it and suggests the form of what is under it through the way it overlaps.
+ Green: add− Red: erase
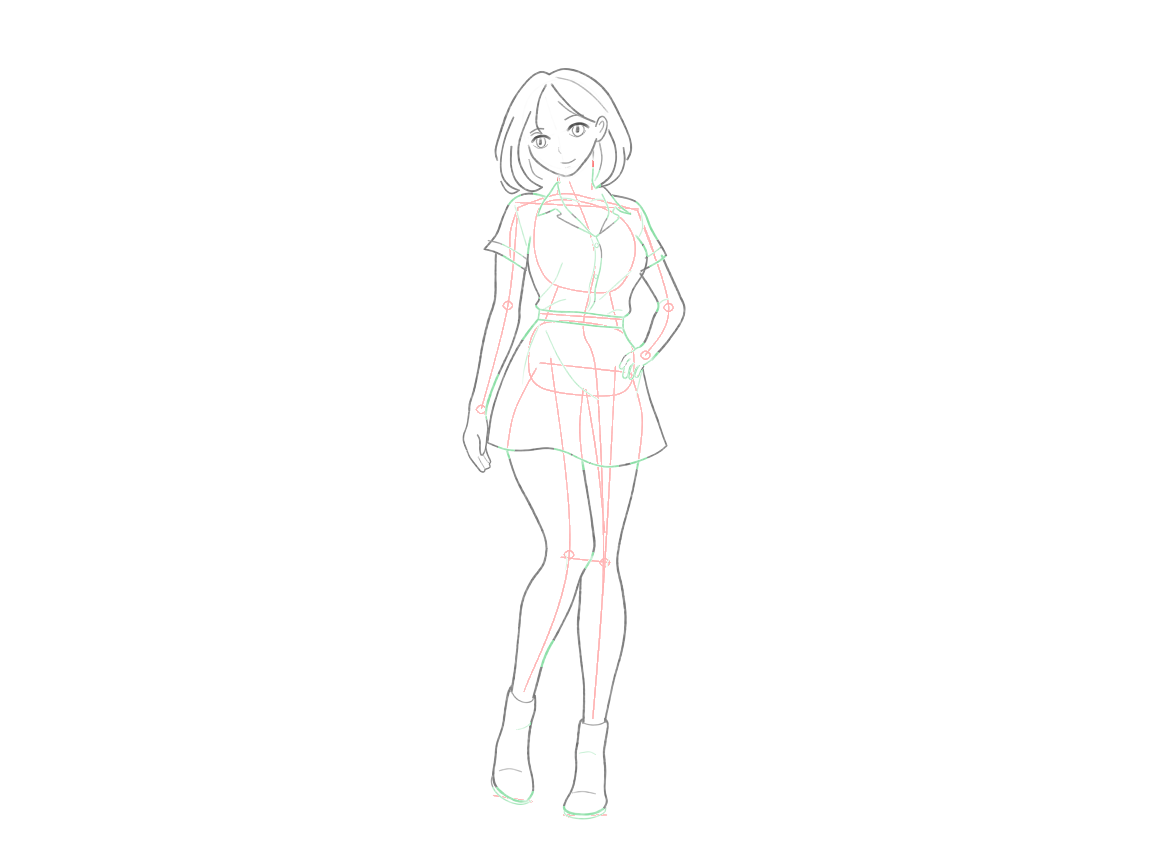
Explain fabric and clear the guides
Make a few folds where the fabric drapes or changes direction. Remove lightly drawn body guides in short strokes and then repair any finished contour the eraser touched.
Keep waistband, sleeve joins, hands, leg overlap and boot joins. Remove any construction that shows through clothing. A few broad folds will do to give impression of clothing on body. Any faint, harmless lines left on surface of clothing need not be polished away.
Why this works
Remove construction lines that show through clothing. Clarify existing forms instead of adding new anatomy.
+ Green: add− Red: erase
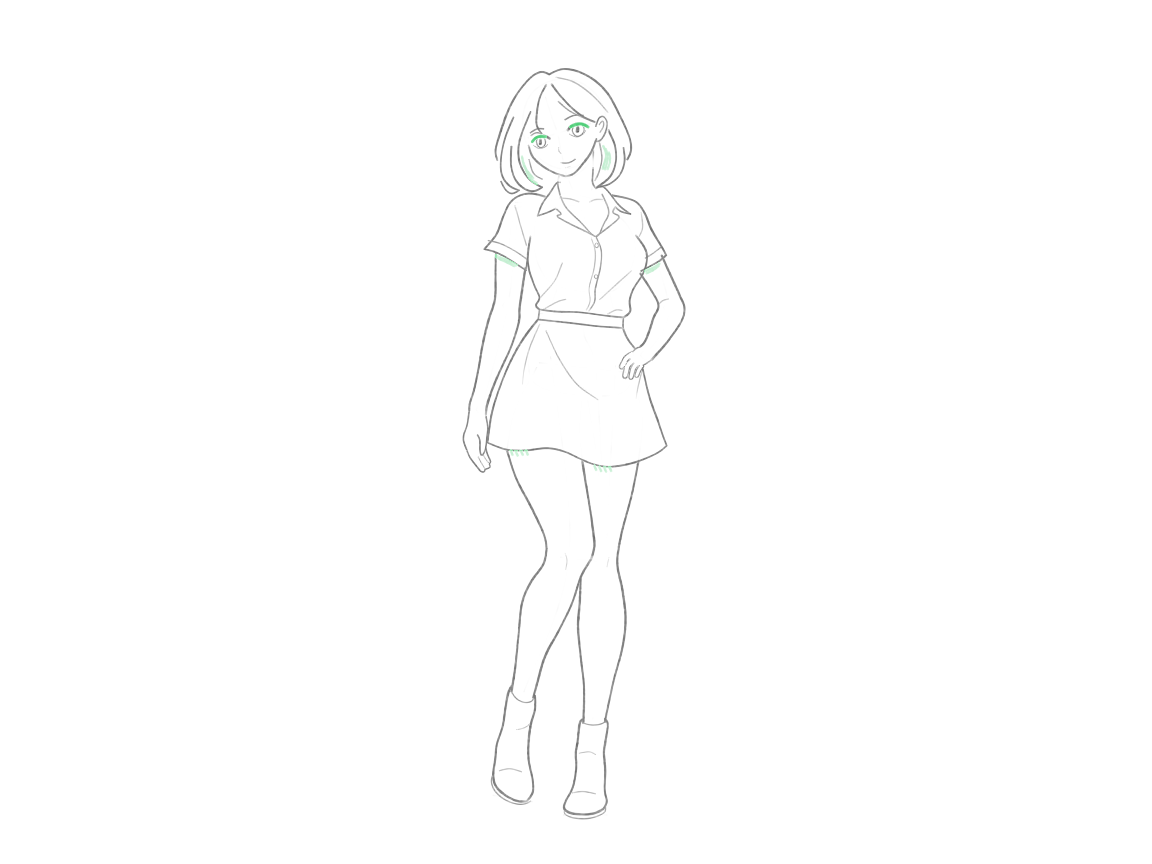
Finish the face and overlap accents
Strengthen the upper eyelids and small shadow contacts under the hair, sleeve openings or hem. The face should remain clear and most of the clothing white.
Check that the head is supported, clothes are joined in the proper places, both hands are attached at the wrists and the two legs are connected to the boots. Keep the nearer leg in front at their overlap, and the hip hand in front of the skirt. In general the figure should read well enough that any extra shading simply accents the structure already there. Light or uneven shading is fine.
Why this works
Small accents can help to reinforce a sound structure, but they cannot replace missing connections.
A few useful checks
- If your character's feet will not fit in the space provided, adjust the light whole-body plan before you add detail.
- Stop drawing the rear contour of the crossed leg where it is hidden by the in-front leg.
- Connect the palm of a floating hand to the wrist before refining the fingers.
- If a sleeve looks like a lump, rework it to follow the shoulder and upper arm.
Try a small change
After finishing, you can draw another version of the character but make one or two changes, e.g. add/ change hair, change expression, change the neckline of the blouse. Remember to keep the body connected and focus on the main forms of the character. This is ungraded.
Remember, the character you built from a plan is your starting point for another good drawing.
Guided lesson
You’ve followed the steps. Now find out how it went.
In the Draw Anime Characters course you draw this one and 5 more on our canvas, with Luna checking each step: what’s off, how to fix it, before you move on. Pay once and the lessons stay in your account.
More from Draw Anime Characters