
One-, two- and three-point perspective explained from your vantage point, as opposed to arbitrary levels of difficulty. This is followed by an explanation of how the checking step of the 250 box challenge helps you check whether each set of edges agrees on a vanishing point, and two free tools for practicing boxes and cylinders.
A box is a simple volume with a front, sides, and top (in other words, a way to think about a three-dimensional object rather than only its outline). Many things that you draw in perspective can be organized with boxes. A building can start with a box. So can a car or a phone. Even a hand or a head can use a box as a rough construction. Drawing these things well means that you must first learn to draw their underlying boxes well.
Drawing boxes is the point where perspective courses start, which is why Drawabox has a great free exercise in drawing 250 boxes to learn drawing in perspective. I’d love to explain in 5 minutes or less how to draw a box in perspective. The part where that explanation would actually make sense though and help someone to learn how to draw in perspective though is the part that no one can explain to you though.
One-point, two-point, three-point: what actually differs
These are not three different ways of drawing a box in perspective. These are three different viewpoints of a box. How many sets of edges recede from the picture plane, and how many remain parallel to it? That is the key to understanding one-point, two-point and three-point perspective.
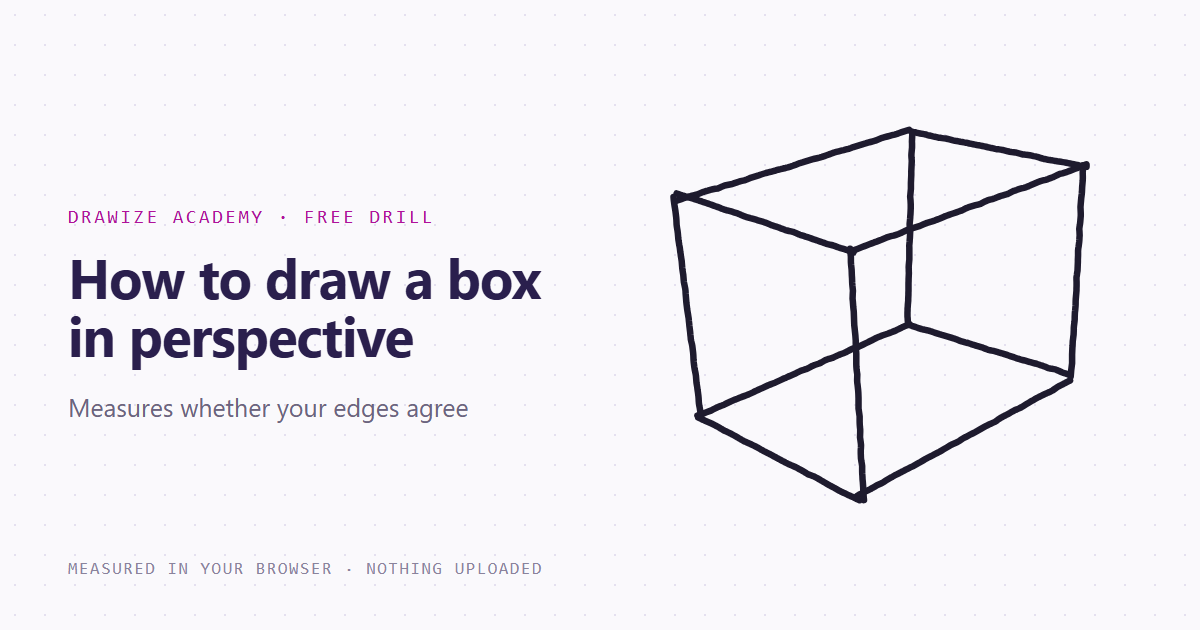
The edges of a box consist of three sets of parallel lines (3 directions, 4 edges each). As these lines of depth recede from the viewer, they converge. Lines running across the front of the box (not receding from the viewer) will remain parallel. Thus, "how many points?" is really "how many directions are receding?"
One-point. Here we are standing in front of the front face of the box, so that face is not receding from us. Therefore the edges of the face that are vertical for us (the uprights) are drawn as vertical lines and the edges that are horizontal for us (the levels) are drawn as horizontal lines. Only the edges that go into depth (the depth edges) are drawn as if they are receding from us. They all converge to a single point. So, to start the box you draw a rectangle and put a dot on the horizon where you want the depth vanishing point to be. Then all the depth edges converge to that dot.
Two-point. The second case is when you look at a corner of the box rather than at a face. Two sets of lines are receding (away from you) in this case, namely the two sets of lines which are running away to the left and to the right. Each of these sets of lines is converging to its own point on the horizon, which are generally off to the sides and away from you. The other set of lines (the up and down edges) are not receding in this case (since your view is level and the upright edges are parallel to the picture plane), so they remain vertical. This view is of a building from across the street and is probably what most people think of when they talk about drawing something in perspective. The most common error when drawing a two-point perspective view is for the up-right edges to appear to be leaning. This would result in a three-point perspective view rather than the two-point perspective view you were trying to draw.
Three-point. A view up at a building, or a perspective view down at a small box, all of the edges of the box recede from the viewer. The upright edges converge at a third vanishing point located above or below the other two. The left and right edge sets still converge toward their own points. This is a view of a tall building or a small crate from your feet. A freely rotated box can use three-point perspective too. Drawing freehand does not itself determine the number of vanishing points; the intended orientation does.
How one checks a line for perspective is more important than it seems. For example, uprights that converge in a three-point perspective drawing are correct, but bad in a two-point perspective drawing. Therefore, one must be able to distinguish between the two drawings.
Two things are amiss and need to be fixed in opposite ways.
The two mistakes are to aim off for the wrong point and for a line to wobble about on its way to the point that it was aimed at. (The lines look similar whether they’ve gone wrong with aim or with control).
A wobbly line may have been drawn too slowly. As you draw a line, you’re constantly making corrections to it, and you can’t feel these corrections as you make them. When you look at the line on the paper, you can see that every now and then it has wobbled. To deal with this sort of problem, you need to work faster, and to work with your whole arm, not just your hand and fingers. This will make your lines worse for the time being, but it’s a lot easier to correct for aim than it is to correct for the sort of wobbly line that we’ve been drawing.
I find these lines are generally aimed poorly, not because they are not drawn quickly, but because they were drawn without deciding on a vanishing point in advance. So the cure for these lines is to pause for a moment before drawing them, name the vanishing point you want to aim for, point your arm at it, ghost the line twice and then draw it ‘for real’.
The checking step is the part that teaches
After drawing the box, use a ruler to extend its edges in their receding directions and check whether each family of four heads toward one point. This part can get skipped because it takes time. Each set of four edges either agrees on a single point or it does not. If it does not, then the amount by which it does not is an angle. This is the kind of thing you might normally have to interpret or make a judgment about, but you don’t. The reason you can’t rely on your judgement of the line you’ve just drawn to tell whether it’s aimed at the point you intended it to be aimed at is that the same visual estimate can overlook the same aiming error again.
This is all pretty dull. Mainly because it’s all pure arithmetic. You have four edges, either they meet up at one point or they don’t. And if they don’t, it’s a certain amount of an angle that they don’t meet up at. That’s it.
And for goodness sake’s don’t try to check the error by eye. The same judgment that was used to place the end of the line can overlook the error when checking it. This is a general problem with self-assessment. Extending the lines is the classic way of replacing a judgment with a construction to avoid these kinds of errors.
What a page can do that an explanation cannot.
All of the above is words on a page. You can read them in about 4 minutes. They won’t help you make a better box. The question you will have after reading them is “Is this one right?”. An article can only answer so many questions. The rest you have to experience for yourself.
Our box in perspective drill does the measuring step for you. It groups the drawn edges into three directions, fits a vanishing point to each group and reports the angular disagreement in degrees, including which group is worst. You can draw the strokes in any order; the tool resolves them into edges before measuring. About one degree or less is a useful aiming target in this drill. This is a Drawize Academy tool, separate from Drawabox's challenge.
You can also use the page to build the box with guidance. The vanishing points and eye level can be set using sliders and you can see how the form changes as you move them. Then, rather than having to work out where to start, you are asked for one line at a time and each is checked as it is added to the page. If a line is deemed to be incorrect then it is removed from the page along with a reason for the mistake. This part of the page is also not scored. A line drawn to a visible target is guided practice, not an independent score. The rest of the page is scored from the box that you draw after completing the form on the page.
The course takes you through 5 steps of practice – starting with a guided exercise to build a box, and working your way down through different techniques to draw a box on your own until you can score your own work. The pages give you the option to work through a program of practice if writing out instructions isn’t enough to get you going – and then take them away step by step, one by one. Two of the steps are particularly worth noting. In the first of these, you get to set the vanishing points yourself – and then have them disappear from view. You then draw the box from scratch, and the page tells you how far off the point that your edges actually agree on is from the one that you declared. In the other, you get to view the whole scene from a skewed perspective – meaning that the target edges no longer run straight up the page. This is basically what all freely rotated boxes amount to.
Then cylinders, for the same reason
Drawing boxes helps us determine if the straight edges are heads in the right direction. The cylinder in perspective drill helps us check the orientation of curves as well. It is a useful exercise to try after boxes.
Getting the ends of a cylinder round in perspective depends on one little fact which most people get to get wrong. In the receding-cylinder construction used by this drill, the farther end ellipse gets more open and smaller across as it recedes from the viewer. These two parameters move in opposite directions as the end of the cylinder is recessed. That is why stating that the far end of a cylinder is wider than the near end is so confusing a way of describing this. The far end is actually the rounder of the two end ellipses and also the slightly smaller of the two end ellipses. Giving both ends the same openness can weaken the depth in that construction; the intended viewing angle matters.
The page also describes how to draw the form with support lines (centre line, then ends, then sides). The support lines can be adjusted by moving the eye level slider and it is possible to see how both ends change in different amounts. This gives you a way to see the change while you practice drawing a cylinder in perspective.
How to actually use any of this
Draw a simple box on the page, extend the lines of the box to continue them out on to the page, and note how far from perfect each of the three sets of lines was. Use that information as the basis for your next box, working to improve just one set of lines at a time. For a short practice target, aim for three boxes in a row scoring above 85 out of 100 with no major issue flagged, using different angles. That is a drill target, not proof of mastery or completion of the 250 box challenge.
Draw a simple box on paper, extend the edges of the box in space. Look at the worst group and see how many degrees off it is. Now draw another box while concentrating only on improving the worst group from the last box. Repeat this process, aiming for 3 boxes in a row scoring above 85 out of 100 in the drill, with no major issue flagged. Draw them at different viewing angles. Then try one more box on paper, extending the edges of the simple form yourself. If you can tell what you’re going to see before extending any more lines, then you have learned the one lesson that the 250 box challenge is trying to teach you. That is a useful sign of progress to carry into your next drawing.
All content on both pages is free, unlimited use, requires no account, and runs on your browser. All thresholds and formulas have been published at how we measure, including the specific fixture used to establish each threshold. That a score cannot be audited, therefore it must not be trusted, is the bedrock principle underlying all our work.

Tomislav Lombarovic
The Founder of Drawize Academy. Originally creator of the Drawize game, a simple online game which has served over 10 million players.