Free tutorial · Lesson 2 of 6
How to Draw a Cute Bunny — Easy Drawing for Beginners
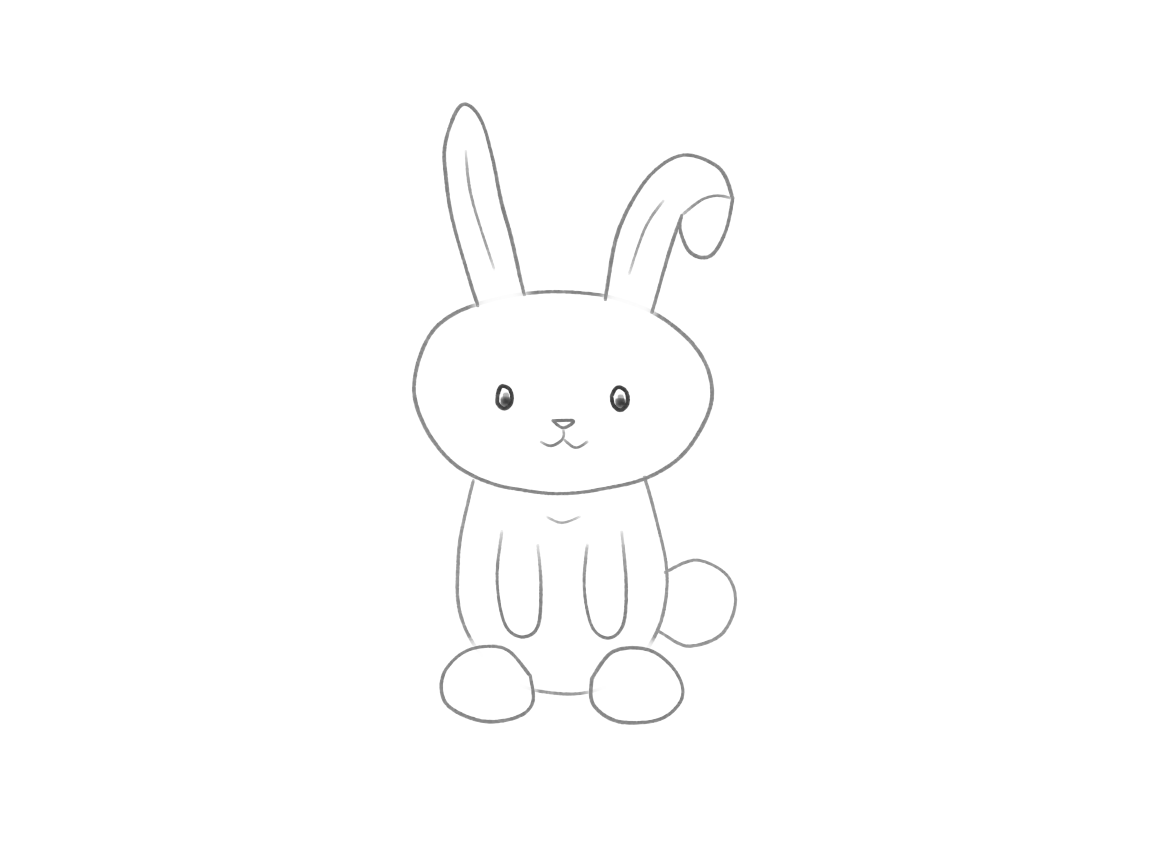
A simple seated bunny, a large head on a small body with one folded ear. Proportion and intention to create an unusual personality within simple form.
Skip to the stepsWatch the pencil strokes
Free replay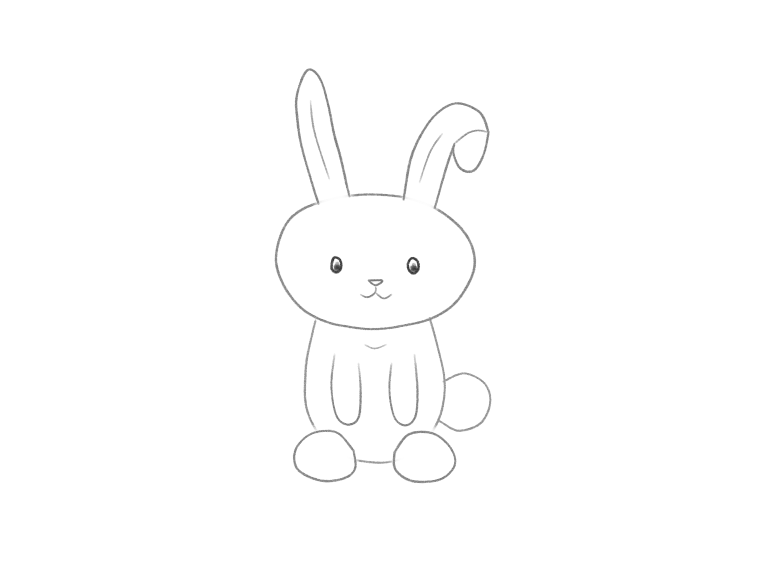
Enable JavaScript for the pencil replay. All drawing steps are available below.
What you’ll learn: Pay special attention to the relationship between the head and body, as well as the intentional ear fold and its overlap in the drawn bunny’s ear.
+ Green: add− Red: erase
Plan the head and body
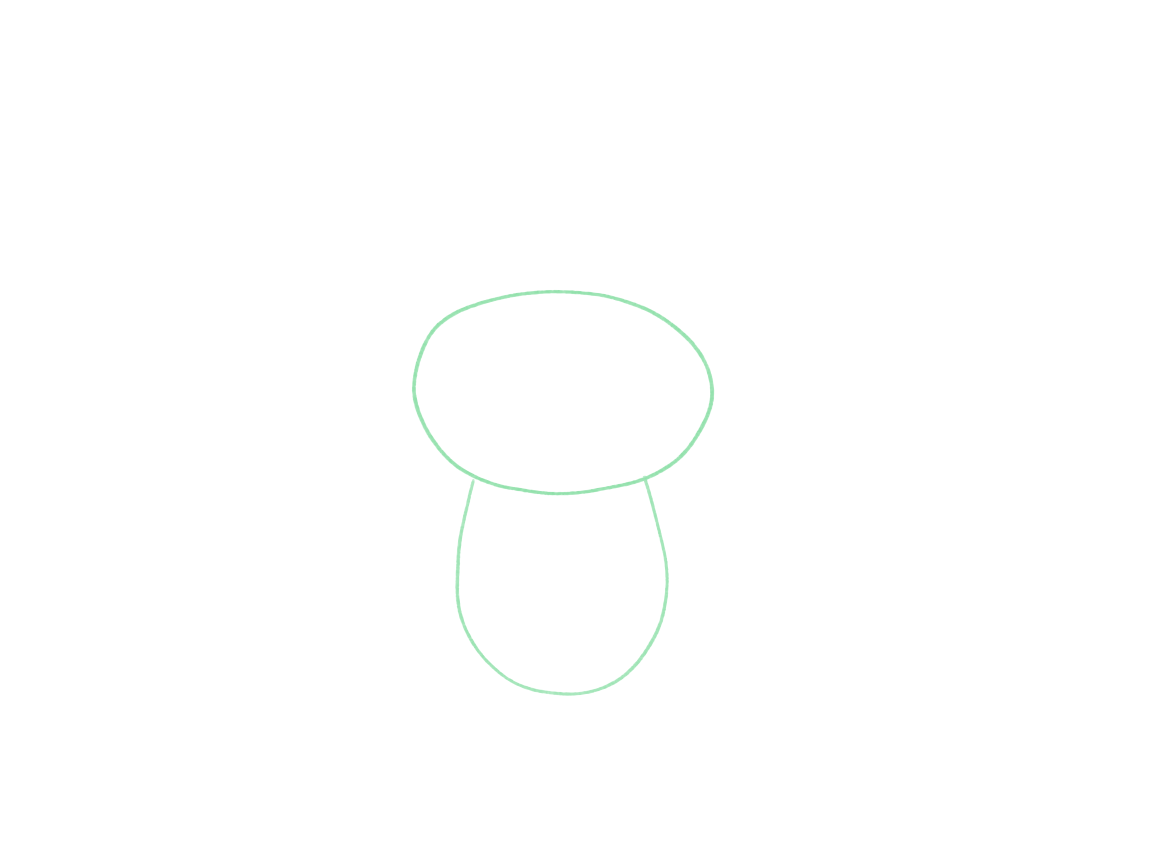
Draw a large round head resting on top of a small seated body. Leave lots of space above the head for long ears to be drawn.
Begin at the middle of the page and draw two rounded arcs for the head. Then draw a small body below it, stopping each side where it meets the head. Leave enough room for the back feet of your bunny. The large head and small body together form the main character of your drawing before you add in the small details of the features.
Why this works
Proportion refers to the size of parts of a drawing in relation to each other. The large head of this character sits above a small body, making it a compact drawing. The body could be round or slightly taller, but still work within the same idea. It is best to reserve the space above the head for the ears before drawing them, rather than trying to squeeze the ear tips at the edge of the page.
+ Green: add− Red: erase
Build two different ears
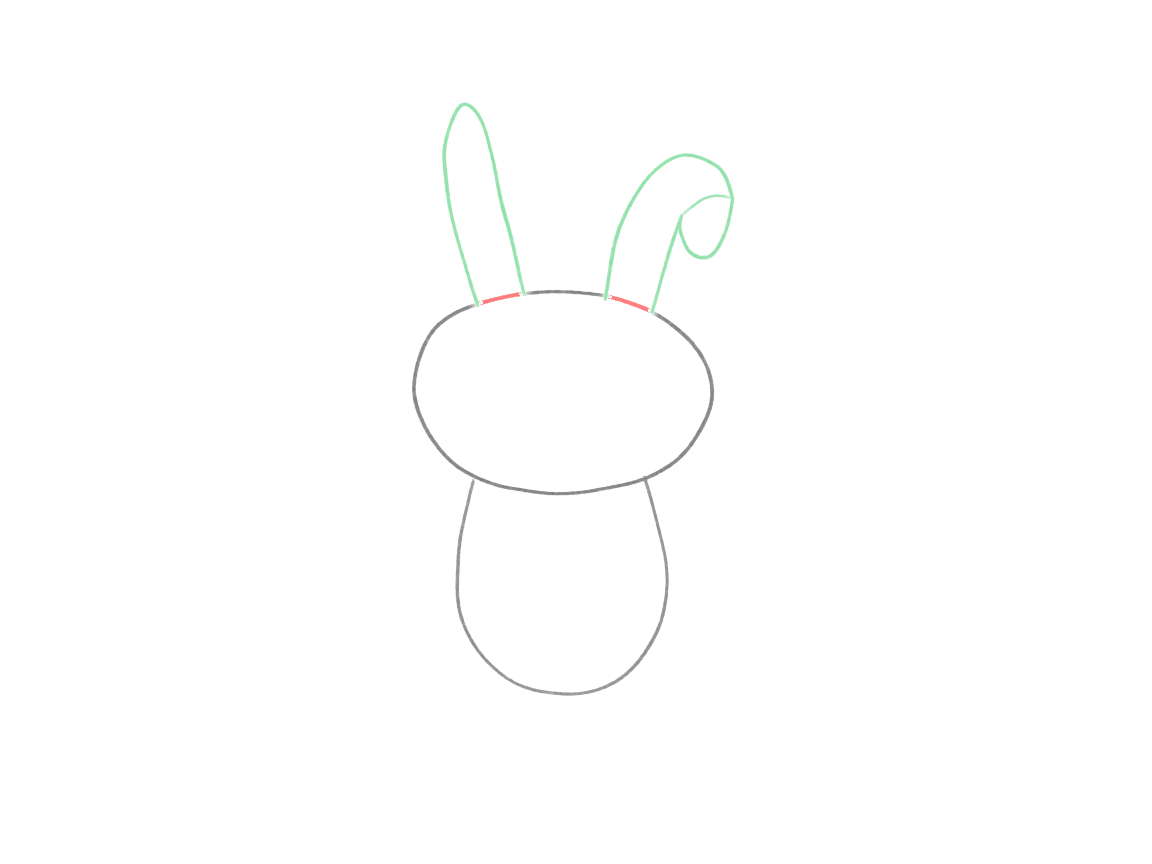
For the bunny ears, draw one upright ear and one that folds near the end. The line should change direction where the ear folds, and there should be a small flap at the tip that overlaps the rest of that same ear.
Erase a short crown arc at each ear base. For the upright ear draw a narrow curve up from the crown and round the end. Then bring it back down to the head in the same sort of curve. For the other ear draw it up from the crown in a diagonal line and down to form a small flap at the end. Draw the inner edge of the ear and add a short fold line to indicate where the flap turns.
Why this works
The ears are asymmetrical which means that one side is different from the other. In this case one ear is standing up straight while the other is bent. Each ear should have a clear line that goes back to the head of the rabbit. The folded tip of the ear should overlap the rest of the ear and a small seam should be visible where the tip turns.
+ Green: add− Red: erase
Place the face
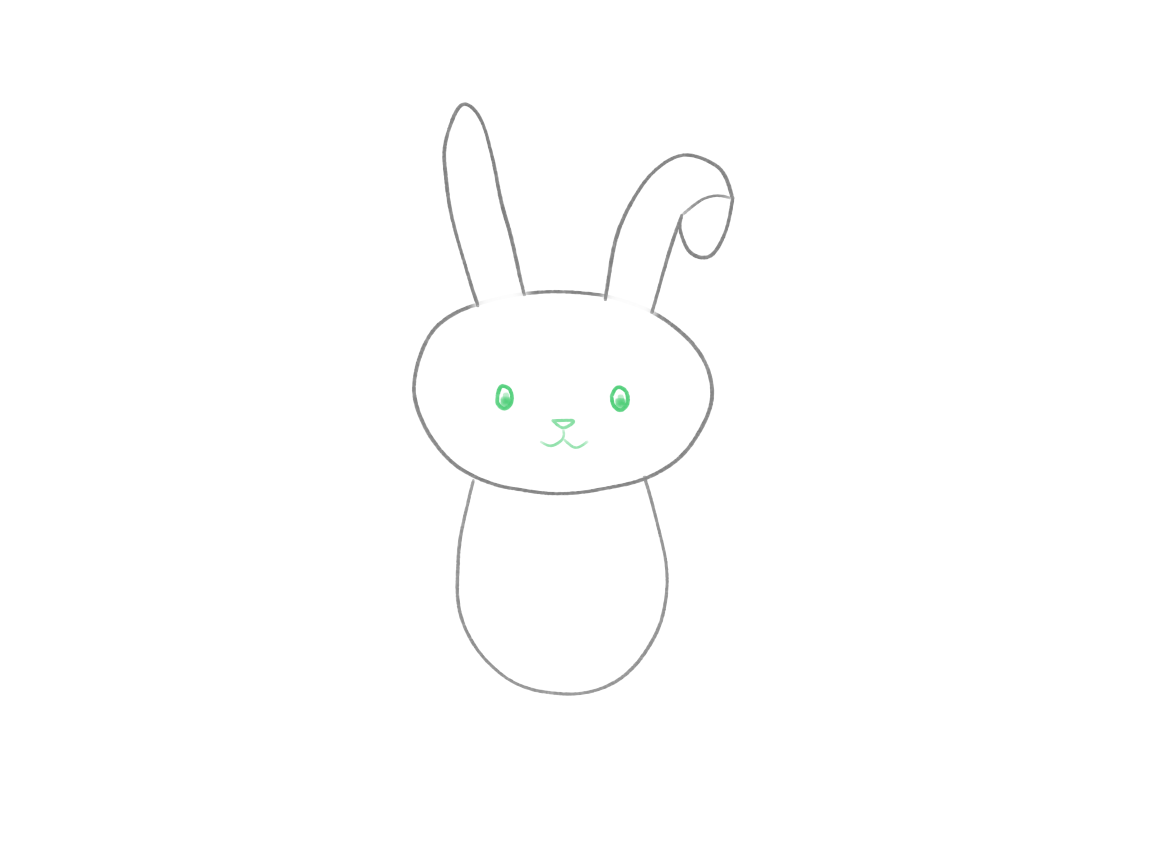
Eyes, a nose and a short mouth: simple enough. Keep it in the center of the head and leave a lot of space around it.
As previously indicated place eyes in the lower – mid area of the face, within the broad head of the animal. Indicate the centers with short strokes of pencil – it is okay to leave a tiny area of white within each dark center. Attach a small nose below the two eyes, within the space between them, drawing a short stem down from the nose to join two small mouth curves.
Why this works
All the marks on the face relate to each other, so the eyes need to be placed so that the nose sits between them and the mouth below the nose. Keep the small group of features near the lower-middle of the broad head, with some space around it, rather than scatter the marks around the edges. Slight asymmetry in the face can work with the already unequal ears; it does not automatically need correction.
+ Green: add− Red: erase
Add paws, feet, and tail
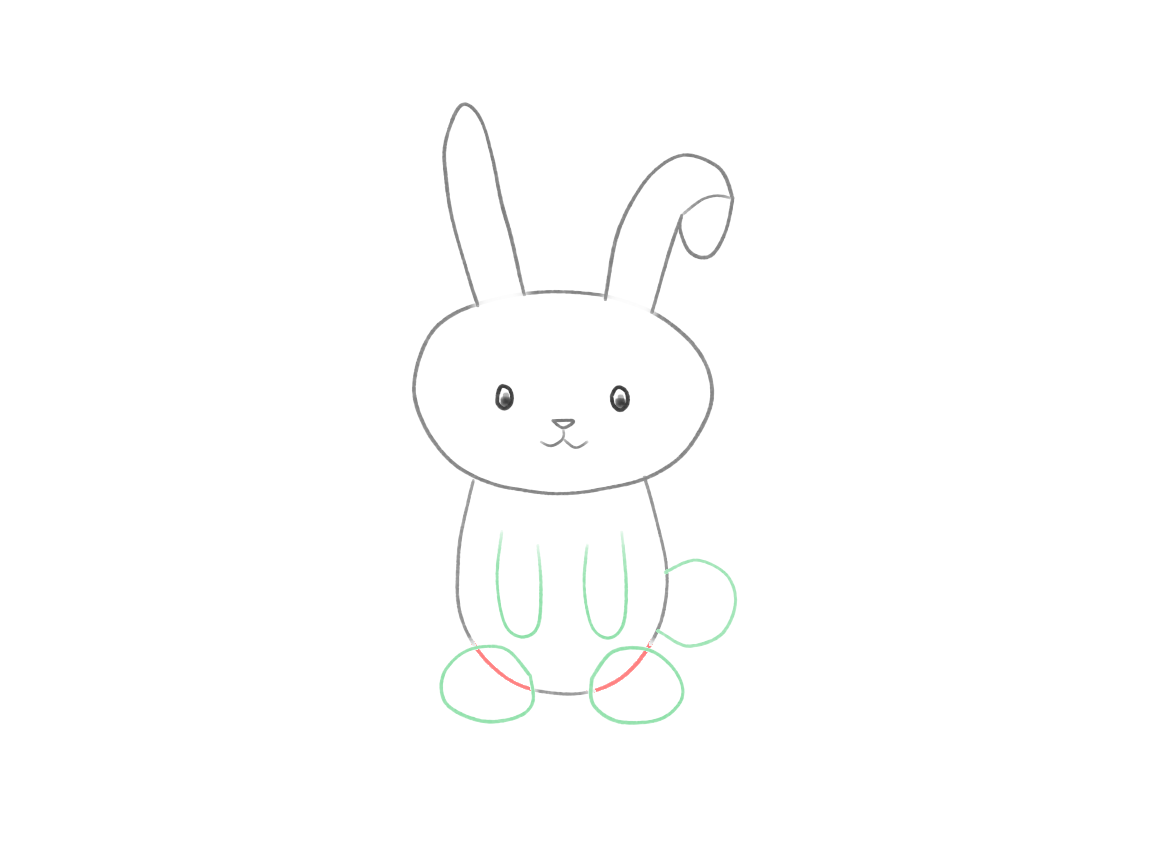
Add two small front paws stuck to the body near the front. Add two broad back feet to the base of the body. Add a small tail, sticking out of one side of the body.
Erase the lower body arcs where the back feet will sit in front. If a strong line remains, pass the eraser over that short section again. Draw two broad feet at the base and restore any foot contour touched by the eraser. Draw two narrow U-shaped front paws to sit inside the body against the chest, leaving the top open. Draw a small round tail to sit against the back of the body. Stop the tail outline where the body hides it. That stopped edge will show which form is in front.
Why this works
In order to be able to distinguish the different limbs, the front paws need to be drawn relatively small against the seat, the back feet are broader than the front ones and sit at the base, in front of the lower body edge, and the tail is small and drawn on one side of the body. As far as the creases are concerned, two front paws and two back feet make up the large masses of the limbs. The individual toes are not needed for this construction.
Clarify and finish
Check that the fold of the ear and the seated pose of the body are visible. Add as much detail to the inner ear as is necessary to make it clear that it is an ear, but try to keep the body uncluttered.
Draw a narrow line within the upright ear. When drawing the ear that is folded, stop the inner curve of the ear before the fold of the ear. Remove any strong hidden line that goes through the foreground feet. A short line down the chest is ok if you use it. The ground in the demonstration is left unshaded. A slight shadow is optional.
Why this works
Try to add details that support the form. The inner curve of the ear for example follows the outer curve and stops at the fold of the ear. A line drawn that doesn’t take the fold into account will create confusion with the shape that you have already formed. Try to look at the whole rabbit before you add more marks. The seated body, long ears and small face should still be recognizable. A largely blank coat is part of the finish.
A few useful checks
- Make sure to leave enough space above the head for the ears before you draw them.
- Give the folded ear a clear change of direction near its tip, rather than drawing a random line inside a straight ear which does not depict a fold.
- The two small front paws and two large back paws should be counted when you add the limbs and you should refrain from adding more paws in the refinement stage.
- Remember that a line drawn for the body can go through a back foot. If so, erase that section of line, and then restore the outer edge of the back foot.
Try a small change
Optional: keep the head and body idea in a second, small version of the bunny with both ears floppy. Draw the head and body but try to make the new ear shapes without using the replay for drawing the bunny’s ears.
The large head, small seated body and two different ears make up the bunny character. The large head and compact body make up the bulk of the drawing and the face is added before the paws and feet. Intentional differences can be part of a clear drawing.
Guided lesson
You’ve followed the steps. Now find out how it went.
In the Draw Cute Animals course you draw this one and 5 more on our canvas, with Luna checking each step: what’s off, how to fix it, before you move on. Pay once and the lessons stay in your account.