Free tutorial · Lesson 6 of 6
How to Draw a Cute Fox — Easy Step-by-Step Drawing
Draw a fox seated on the ground and look at it from the front. Its pointed ears will be soft and rounded. Its broad cheeks will be very wide. A big, bushy tail will sweep from its rear side into the lower foreground. Draw the fox using clear overlaps, contrasting shapes and limited use of light and dark pencil tones.
Skip to the stepsWatch the pencil strokes
Free replay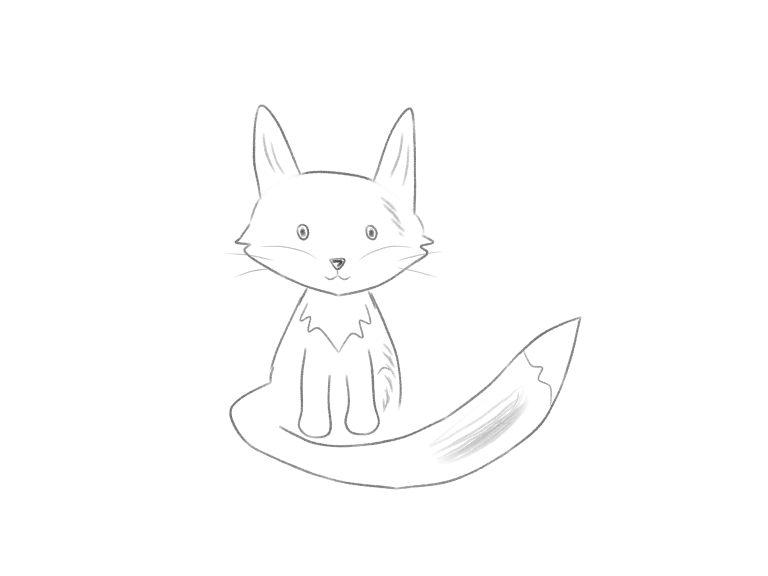
Enable JavaScript for the pencil replay. All drawing steps are available below.
What you’ll learn: Combine proportion, centered face, clear overlap, contrasting shapes and selective use of pencil tone to create a new animal character.
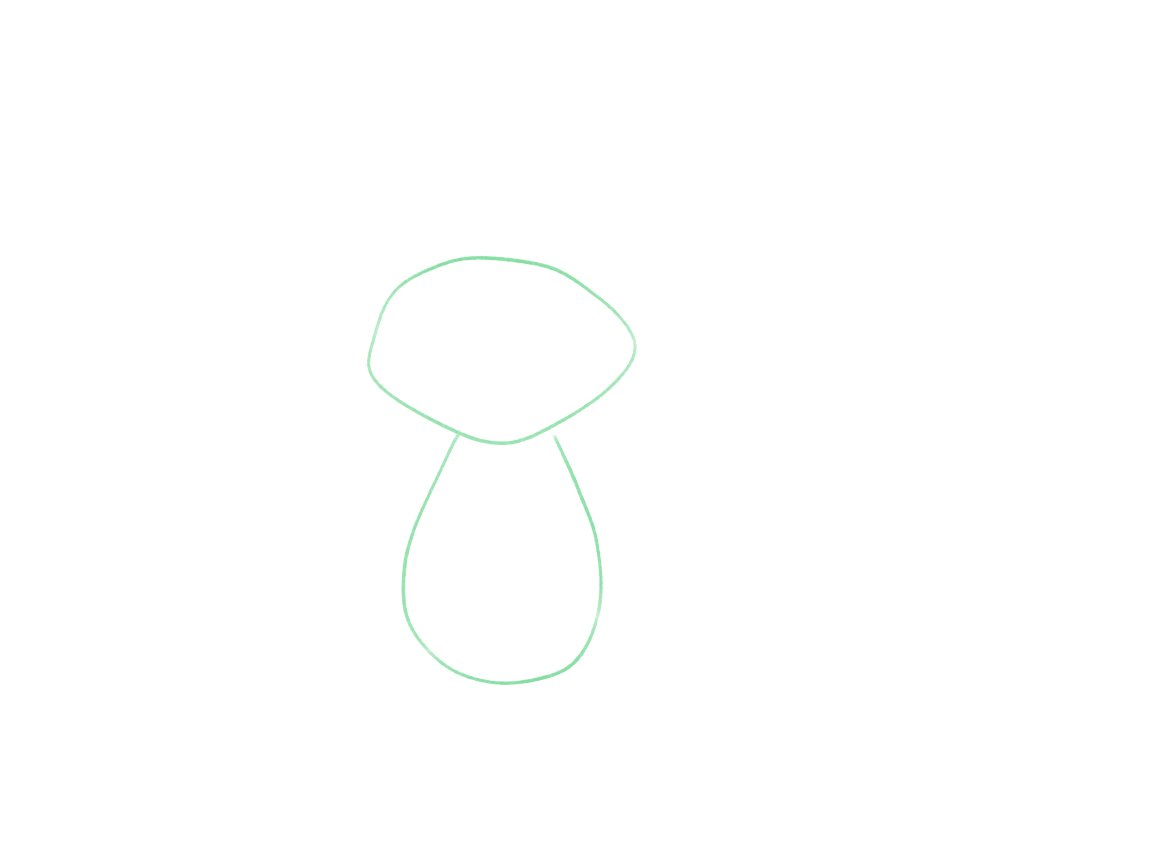
+ Green: add− Red: erase
Establish the seated pose
Place a broad head at the top of a small seated body. Leave room to the right and at the bottom of the body for a long, sweeping tail.
Make a fox by starting with a large, rounded head placed a bit to the left in the composition, about midway in the picture plane. The lower part of the head tapers to a point at the chin. Draw a small body seated on the ground, which will be widest at the seat. The body should be smaller than the head but still substantial, with the two forms touching. Leave plenty of space above the fox’s head for the ears, and lots of room to the right and bottom of the body for the long tail. The fox is drawn to face forward in the composition, so there is no special construction required for a turned head.
Why this works
The fox starts with a broad rounded head with the widest part above a narrower chin. It is a different form to the bunny, but a small seated body can be drawn below the head to keep it prominent in the drawing. Both forms can be drawn first to gauge the space for the tail. Later, imagine a line down the middle to place the face; you do not need to draw that guide.
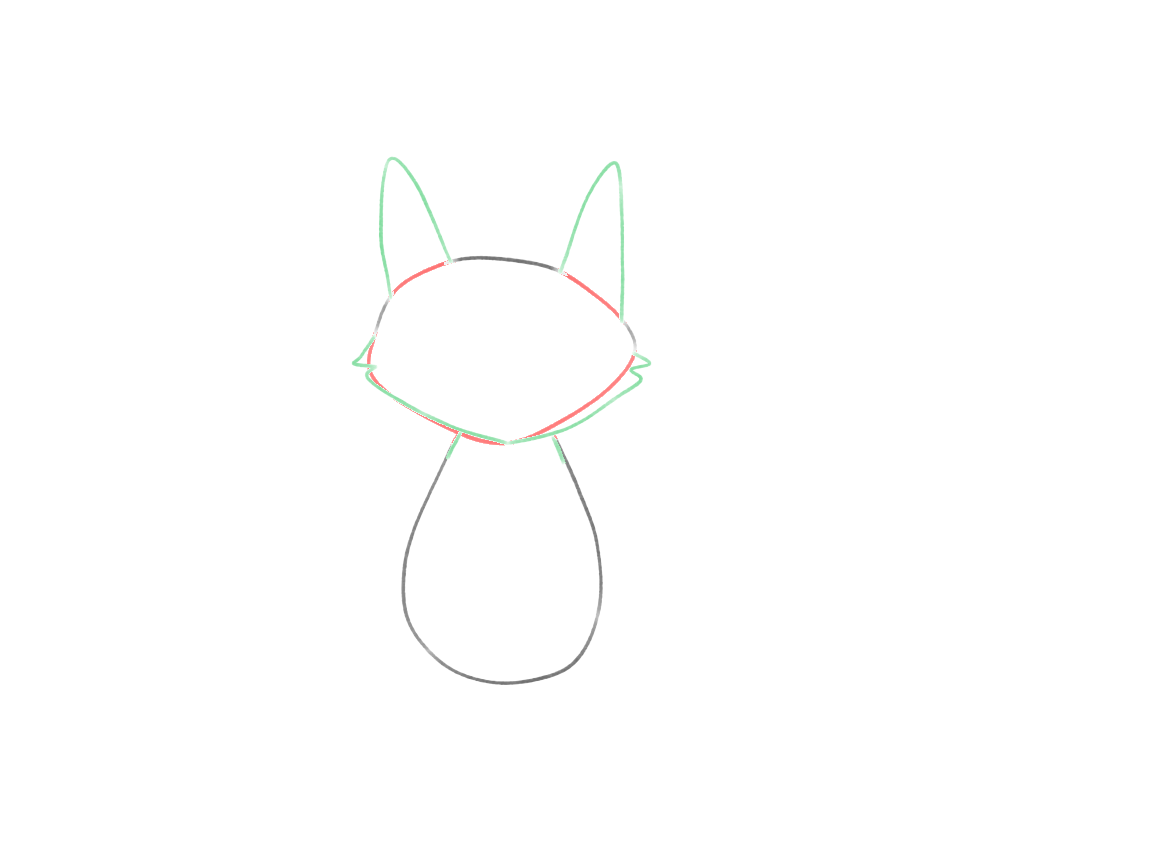
+ Green: add− Red: erase
Shape the ears, cheeks, and muzzle
Draw two softly pointed ears one on each side of the crown. Also draw two broad cheeks each with one or two soft corners. Let the lower cheeks taper to the short central muzzle of the fox’s face.
First, erase two short sections of the crown outline to make room for the two ears. Then remove the curved line at the bottom of the fox’s head to make room for the cheeks. Now add two small pointed ears to the two openings you just created. Each cheek should have one or two rounded corners. The lower edges of the two cheeks should curve downwards to meet at the center of the fox’s lower face, forming the small muzzle area. The body should narrow down towards the head, and then stop at the neck. Reconnect the two short neck sections to the body below the head.
Why this works
Drawing the pointed ears to the rounded head and allowing the head to taper down to a muzzle gives sufficient suggestion of the Fox form without drawing individual hairs. Allowing the two soft cheeks to taper down to a point in the center of the face to form the short muzzle of the Fox will give sufficient definition to the face without the need for drawing individual hairs. Suggesting the short outer corner of each cheek will give sufficient definition to the Fox’s form. The short diagonal line across the face from the outer corner of the cheek to the muzzle will not be necessary to define the Fox’s face as the cheeks taper down to a point in the center of the face to form the short muzzle.
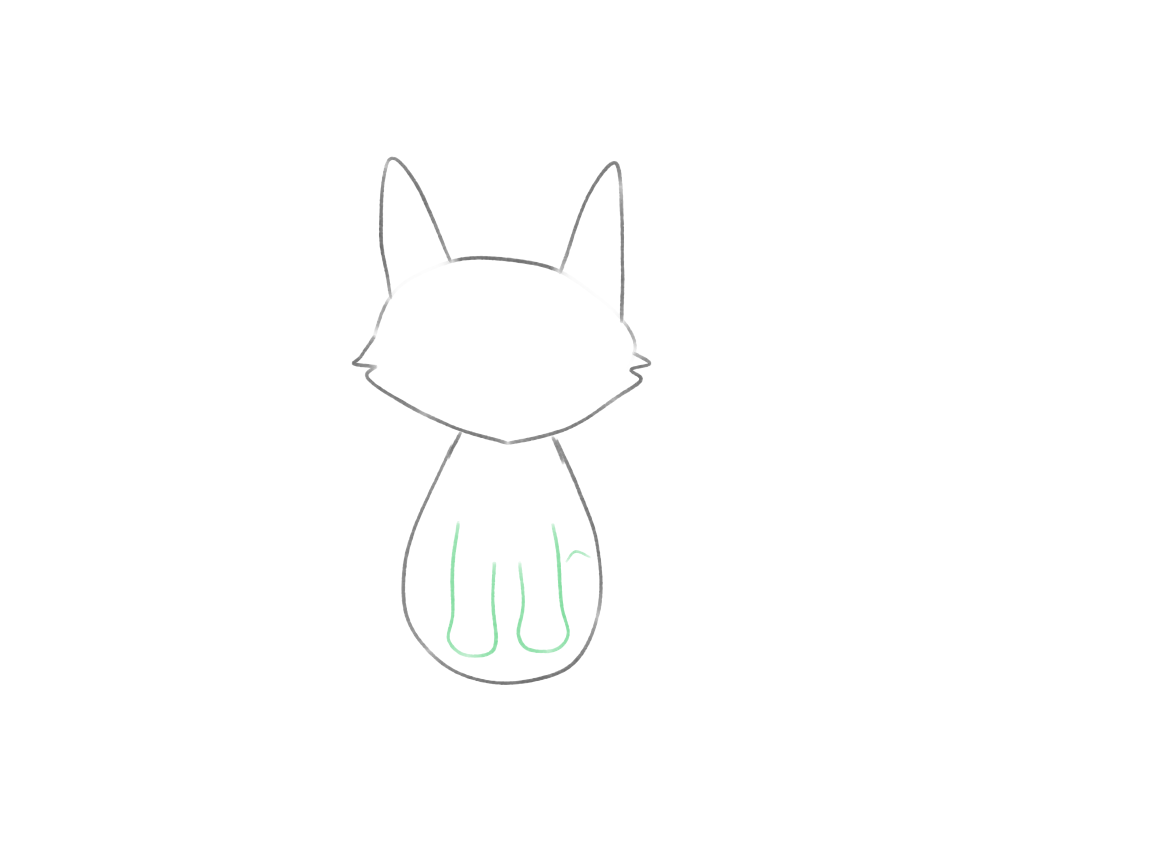
+ Green: add− Red: erase
Add the visible legs and paws
Draw the simple front legs and the visible seated hind-body shape. Keep the lower construction compact because the tail will hide part of it.
In order to show the seated pose of the fox, draw two simple front-legs attached to the underbelly of the fox near the chest. The two front-paws should be drawn near the same level on the ground and there should be some space between them. A simple seated hind-quarter can be indicated by a short curved line at the side of the fox, below the middle of the body. The tail will hide part of the lower body contour in the next step. Keep the two paws readable; toes are optional.
Why this works
By planning an overlap (such as the tail over the lower body of the fox), you can avoid having to draw the lower section of the fox in too much detail. In this case part of the lower section of the fox will be hidden by the tail, so the seated pose of the fox will need to be explained by the two front legs and a rough indication of the hindquarter. The paws of the front legs need to be at roughly the same height and it is acceptable for them to be of slightly different height. Also make sure that all of the visible limbs have been traced back into the body.
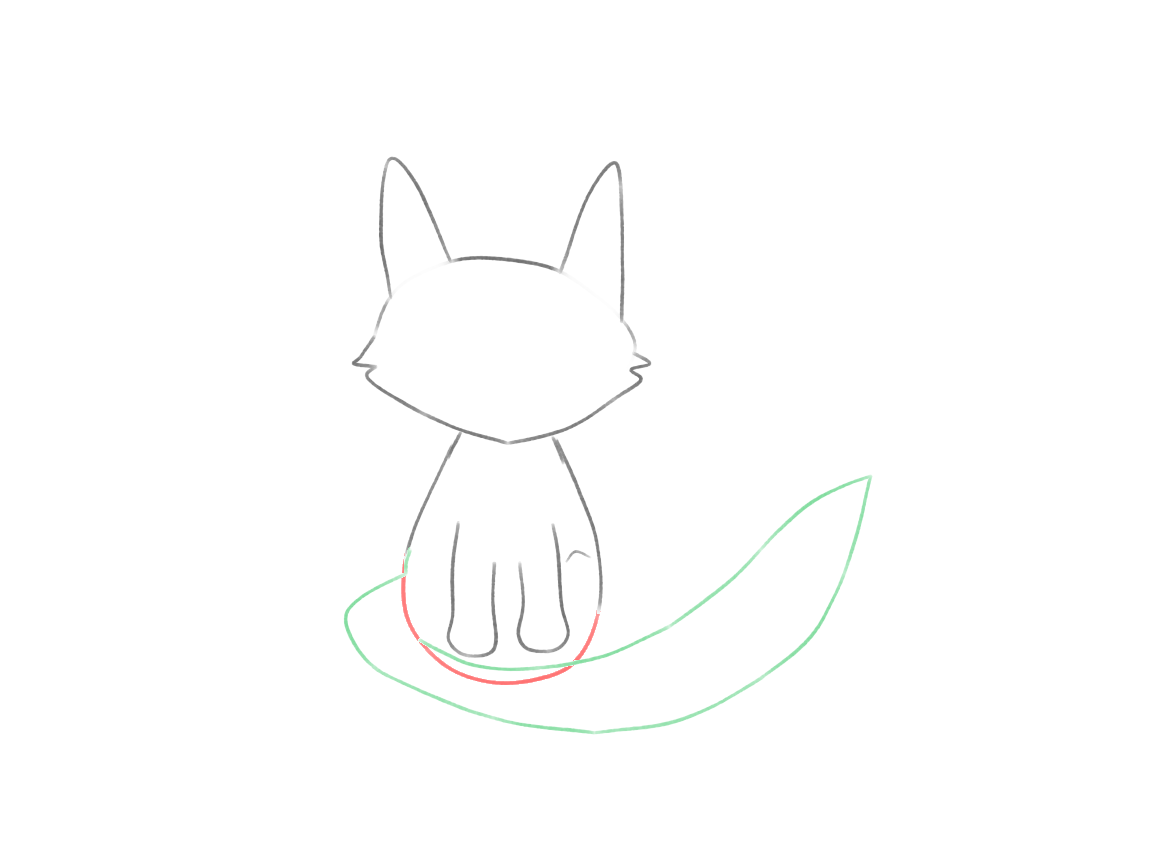
+ Green: add− Red: erase
Wrap the large tail around the body
Draw a broad tail starting at the rear of the fox and sweeping down in a broad arc around the paws in the foreground. Erase the body line(s) that this tail hides.
Erase the line of the lower body that will be hidden by the tail. Begin the tail at the side rear of the fox, near the seated hip. Have the outside of the tail follow a broad sweep down and around the paws of the seated fox. The tail then curves up in space to a pointed end. Use a variety of smooth curves to draw out the path of the tail. The inner edge of the tail follows the body, below the paws, and comes back towards the body. The root of the tail may be hidden partially, but it must still follow in a reasonable space to the rear of the fox. Connect up a small line at the root of the tail to the hip edge that was erased.
Why this works
A large tail swept around to the front can organize the whole fox’s pose, a broad base at the rear, the sweep forming a foreground shape that hides the lower parts of the body. You don’t have to show the full attachment, but you should be able to follow a line down from the rear to the point where the tail starts to form a sweep, it shouldn’t be a line that runs along the fox’s chest.
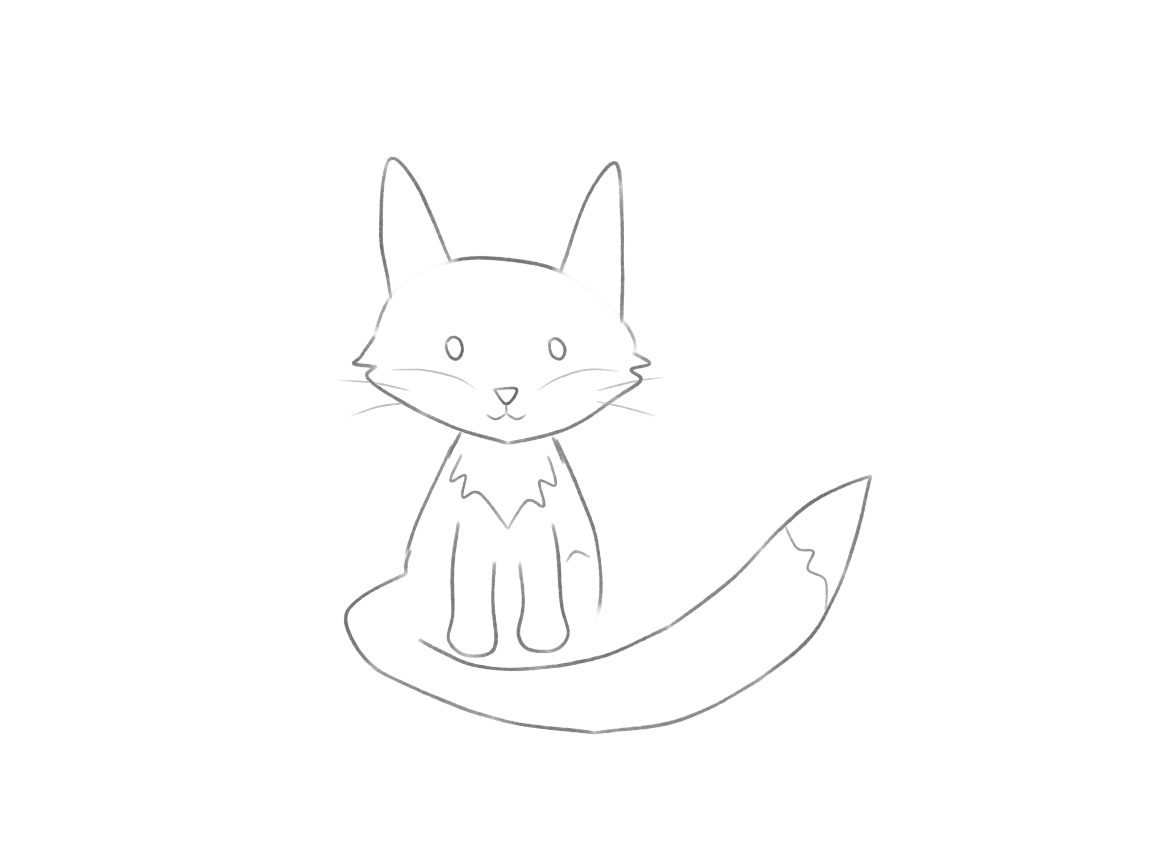
Place the face and light coat regions
Group two eyes and a small nose in the middle of the head. Add a short mouth. Lightly define the cheeks, chest and tail tip now to reserve those pale coat regions.
Imagine a vertical line down the center of the fox's head. Place two small eyes on either side at approximately the same height. Put a tiny rounded triangular nose below their middle and add a short mouth. Keep these marks well inside the head. Lightly indicate the upper edges of the pale cheeks with two short curves; they do not need to reach the nose. If you like, add two short light whiskers from each cheek, drawing outward with a gentle lift and keeping their inner ends away from the eyes and nose. Define the pale chest and tail tip with a few soft corners. These are markings inside the existing forms, not new objects.
Why this works
The eye pair and the nose can form a little balanced triangle within the fox’s head in this view. The cheek, chest and tail-tip boundaries reserve pale paper for the finish. The eyes do not have to be identical; small differences are fine. A nose that is significantly outside the middle of the eye pair would indicate that the fox is facing in a different direction.
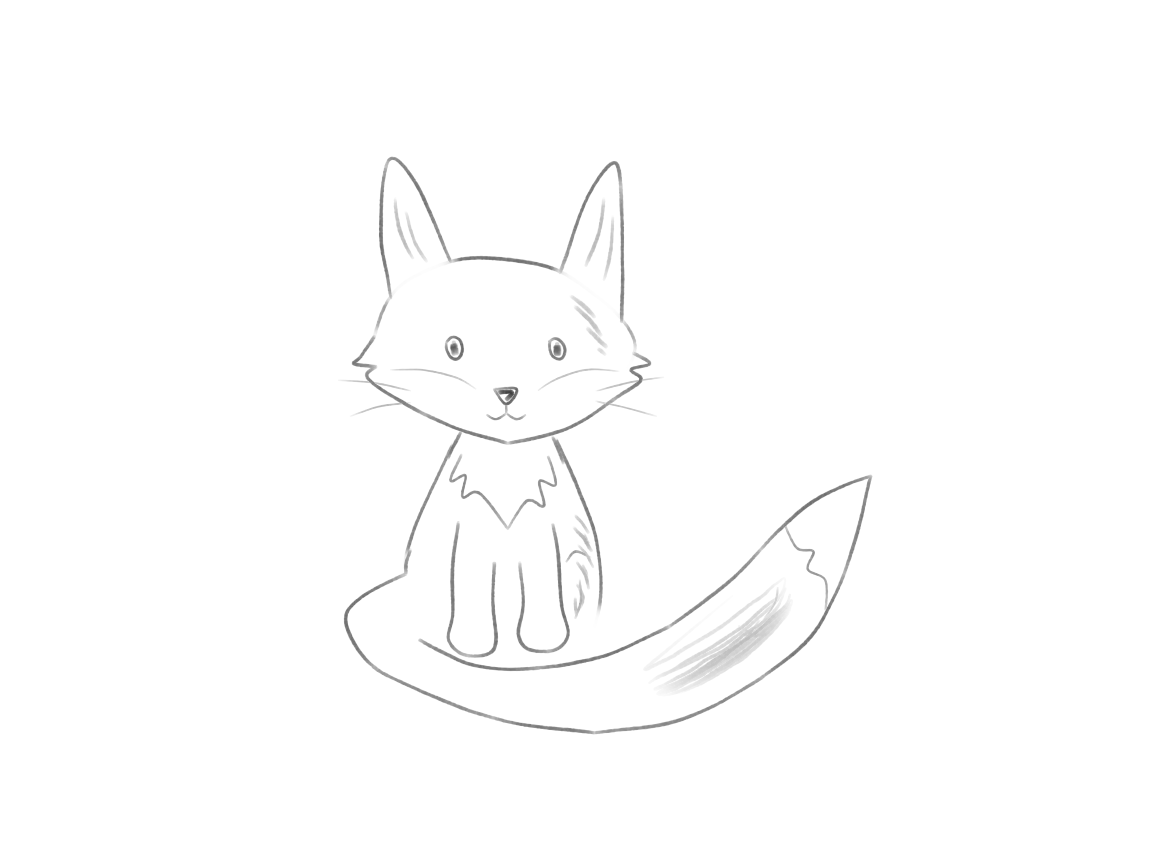
Finish with a simple tonal hierarchy
Add a little light pencil tone to the fur on the fox for the areas other than the pale cheeks, chest and tail tip. Fill in the eyes and nose with darker pencil.
Use gentle pressure to add some short strokes within the ears and at one side of the forehead. Stop the shading before the pale cheeks. Add a few short, slanting strokes to the body side. On the rising portion of the tail before its light tip, lightly move the pencil back and forth over one small area. Work in small areas, overlapping strokes as you work, and allow the ends of the strokes to get shorter and lighter at the edges. Lift your pencil and add a few separate strokes along the tail to connect the tone, keeping its tip pale. Add more depth to the eyes and nose. Leave most of the drawing open; the whole coat does not need shading.
Why this works
Note that even rough, sparse hatching can give good impression of middle value, and it can organize three values of light (cheeks, chest, tail tip), middle (coat), and dark (eyes, nose) very well. Keep the face and tail outline clear. Within a small shading patch, the pencil can stay on the paper for a light back-and-forth group, then lift before moving to another area. Let the patch fade into the paper rather than form a narrow stripe.
A few useful checks
- Remember the eyes are at about the same level and the small nose is below their middle. This can be uneven but a nose that is too far outside the two eyes will change the direction that the face is looking.
- Begin tail at rear side of fox, let it sweep forward in foreground. Stop body line at point where tail begins. You should be able to see both paws in the foreground.
- This finished animal should still have very few dark accents, mainly in the eyes and nose. Keep the coat tone light, with the cheeks, chest and tail tip lighter still. Overlap strokes gently, varying their lengths and making them shorter and lighter at the edge of the patch. Try to avoid creating a solid stripe or tangle of lines down the length of the tail.
Try a small change
You can choose to do an optional final practice where you choose any of the animals from the course and then change two features of that animal (for example you could change the expression of the bunny and the shape of its ears, or you could change the body proportions of the cat and the direction of its tail). You would draw this in small size and not trace another replay of the animal. You do not need to submit this optional practice.
These six animals use a growing list of decisions about proportion, orientation, overlap, movement and tone. You can use this list to change two aspects of your own version of an animal and draw it up.
Guided lesson
You’ve followed the steps. Now find out how it went.
In the Draw Cute Animals course you draw this one and 5 more on our canvas, with Luna checking each step: what’s off, how to fix it, before you move on. Pay once and the lessons stay in your account.
More from Draw Cute Animals